How To Make Paper Bag Snowflakes
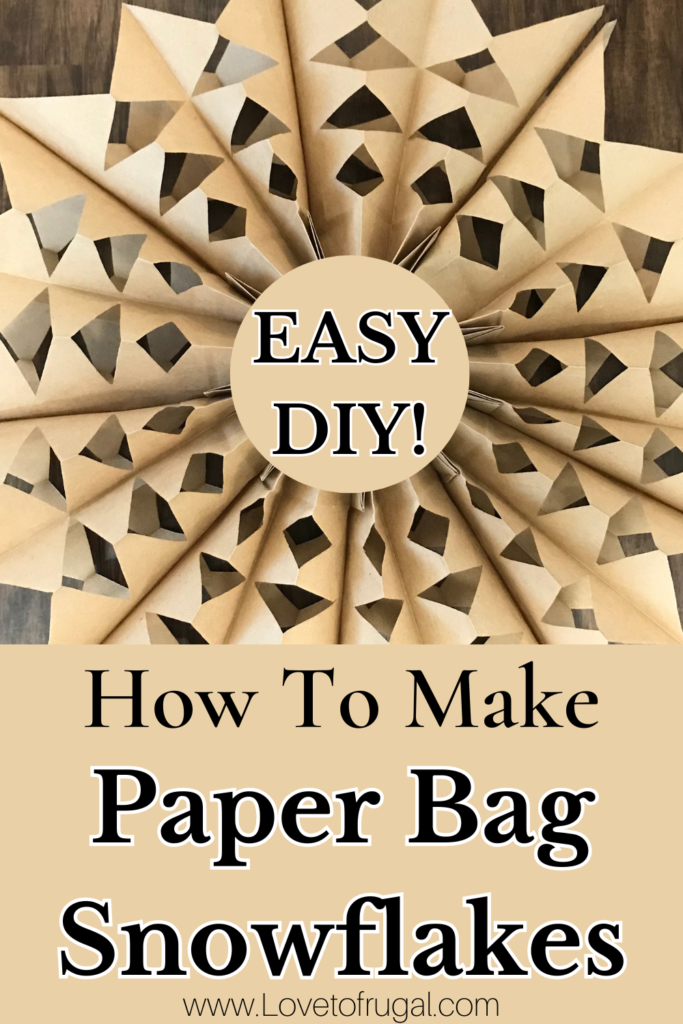
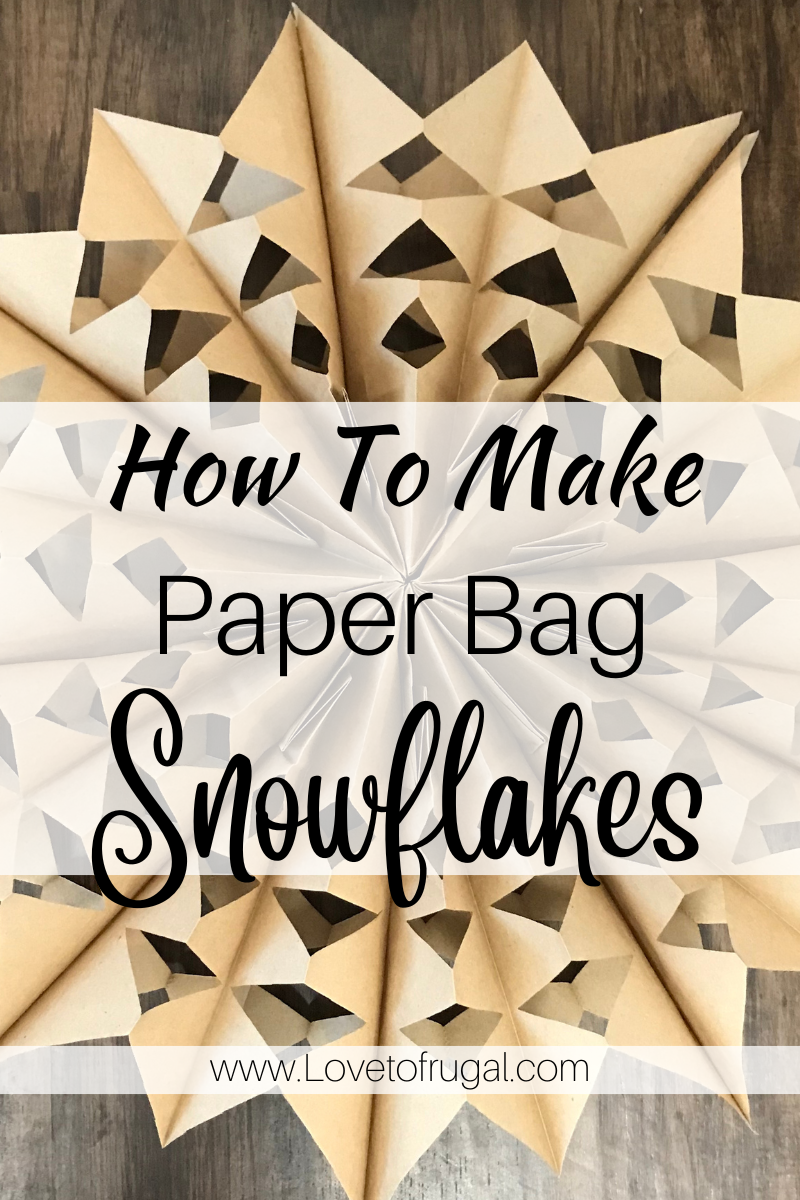
If you need a super easy, budget friendly project that gives you a HUGE bang for the buck, I’ll show you how to make paper bag snowflakes, in this post.
It’s hard to believe that something as simple and cheap as paper bags (brown lunch sacks) could give you such a gorgeous decor statement piece, but these snowflakes (or stars) definitely do that!
I’ve seen these all over the internet & social media lately and decided to give it a try. When I decorated my bedroom for christmas, I needed a couple of large wall decor pieces. The pictures that I had on each side of my dresser mirror are lovely, but they didn’t fit into the decor for Christmas. I also didn’t want to go out and spend a lot of money on something that I would only use for a month or so.
When I saw these beautiful snowflakes, I knew they would be exactly what I was looking for! And guess what?! I was right! I purchased a package of 50 brown paper lunch bags for under $2.00 and used the glue gun, glue sticks and scissors that I already had. Within 15 minutes, I had two beautiful statement pieces that literally only cost pennies!
These snowflakes are so beautiful and I just knew I had to share them with you! But be careful! These might become addicting!
*This post may contain affiliate links, which means that if you buy a suggested product, I will earn a small commission, at no extra cost to you. For more information, see my disclosure page.
How to make paper bag snowflakes
There are so many different looks and variations you can make with just a few, simple materials. Literally, anyone can make this craft project and you can’t mess it up.
I’m going to show you how to make a very simple snowflake, but by all means…use your imagination and get creative! I love the brown snowflakes, but you don’t have to limit yourself to one color. You can use white bags, colored bags, larger bags, lunch size sacks (like these) and you can even make smaller snowflakes by cutting the bags down to a smaller size.
So if you’re ready to make a simple, cheap and extremely beautiful piece of decor that you’ll want to use all over your home, let’s get started!
Materials needed:
- 8-9 paper bags
- Glue gun
- Glue sticks
- Scissors
- Velcro strip (This is totally optional)
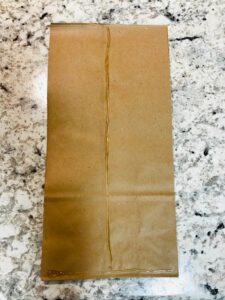
Here’s how to make paper bag snowflakes:
- For my snowflakes, I used 9 bags, but 8 would also work. It just depends on how full you want your snowflakes to be.
- On your first bag, place it with the smooth side of the bag facing up (flap side down) and run a bead of hot glue down the center and across the bottom, making an upside down ‘T’. Working fairly quickly, place your next bag on top of the first bag and press the top bag onto the bottom bag, along the glue.
- Repeat this step 3 more times until you have 5 bags glued together
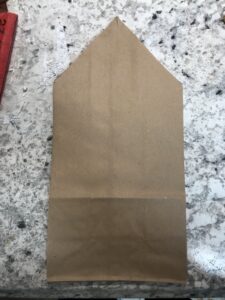
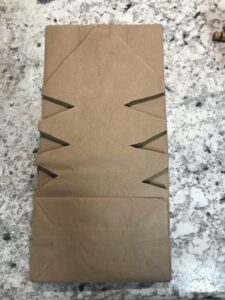
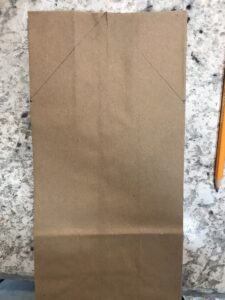
- The next step is creating your pattern. I took a ruler and drew 2 lines at the top of the bag(s), creating a point. You don’t have to use a ruler if you don’t want to, though. You can just cut freehand. It’s really hard to mess these up.
- Cut your point out (through all 5 paper bags). It really helps to use sharp scissors for this. Also, it’s much easier to cut half of the bags each time rather than trying to cut through all 9 bags at the same time.
Once you make your first cuts, your bag(s) should look something like the above pic.
Now for the real fun!!
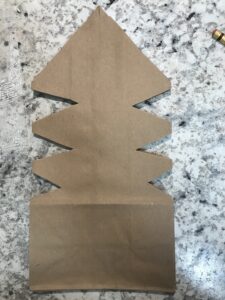
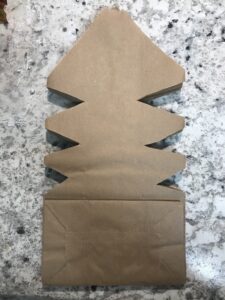
- As you can see in the above pic, I chose not to use a ruler on the next step. I just cut 3 triangles on each side, freestyle. There really is no need to be precise. You can cut as many as will fit or less, depending on what suits you. You can also cut half circles, half a heart or whatever your imagination will allow. Just don’t cut into the bottom of the bags.
- Once you’re pleased with your design, glue the remaining 4 bags to the first 5, following the same direction (flap side down, smooth side up).
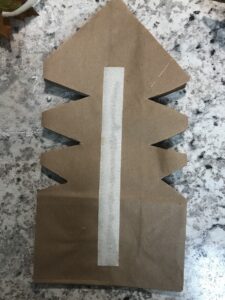
- Now that they are all glued together, turn the bags over and cut the remaining bags using the pattern/template that you created.
- Now your bags should look something like the pic below.
Get ready to be WOW-ed!
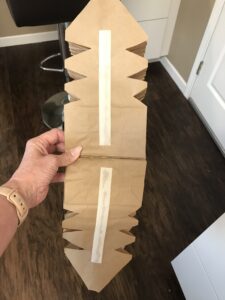
- The last step is to run a bead of hot glue down the center of the top bag and bring the bottom bag around. Press the two bags together, but be careful as the glue will be very hot.
- Another is option is what I chose to do. These snowflakes are too pretty to use for only one season. That’s why I made mine where I can undo them, store flat and get a few seasons out of them. I hot glued velcro strips to my snowflakes. I’ve also seen where some people have used binder clips or paper clips to attach theirs.
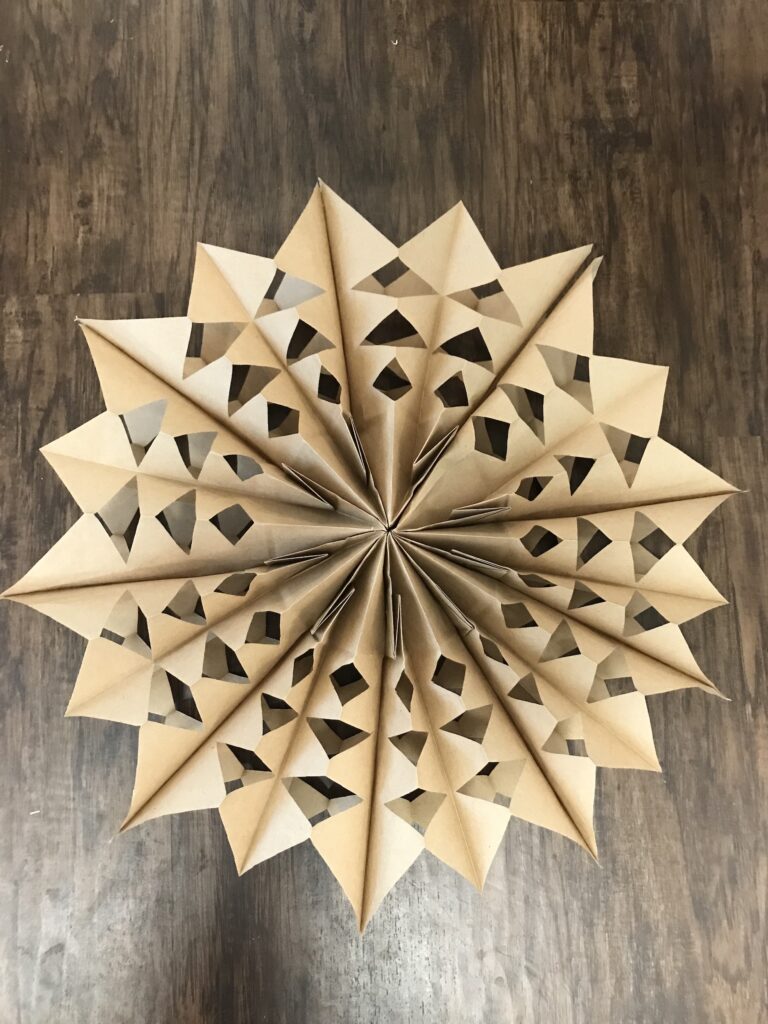
Here’s my finished snowflake! How beautiful is that?!
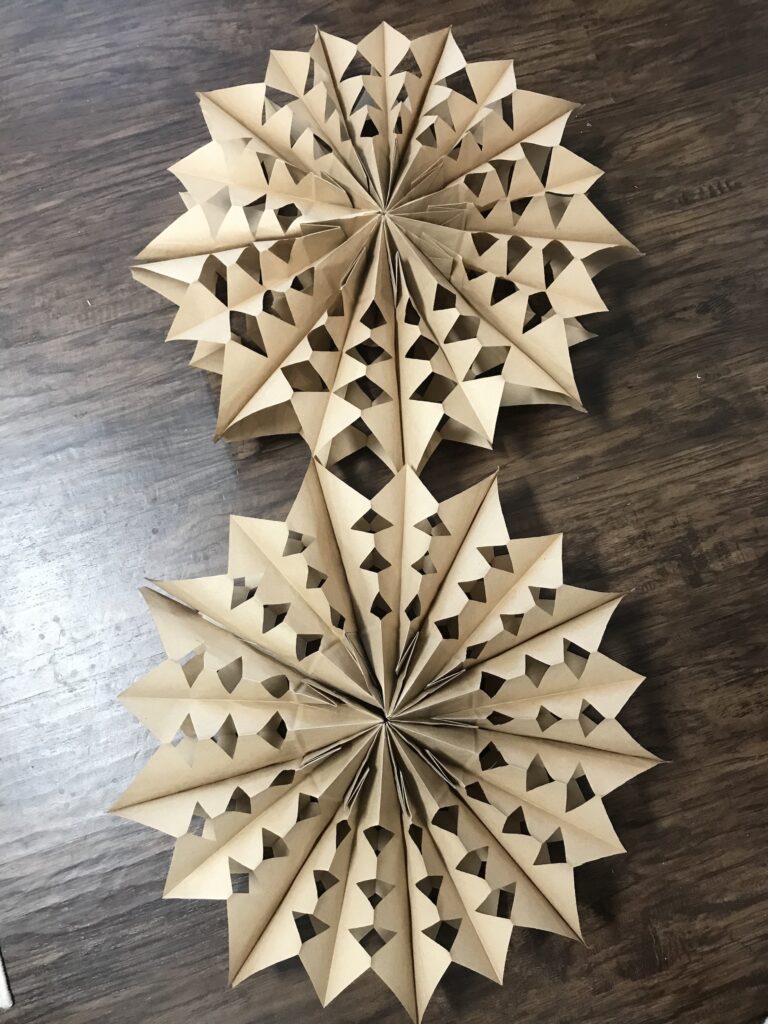
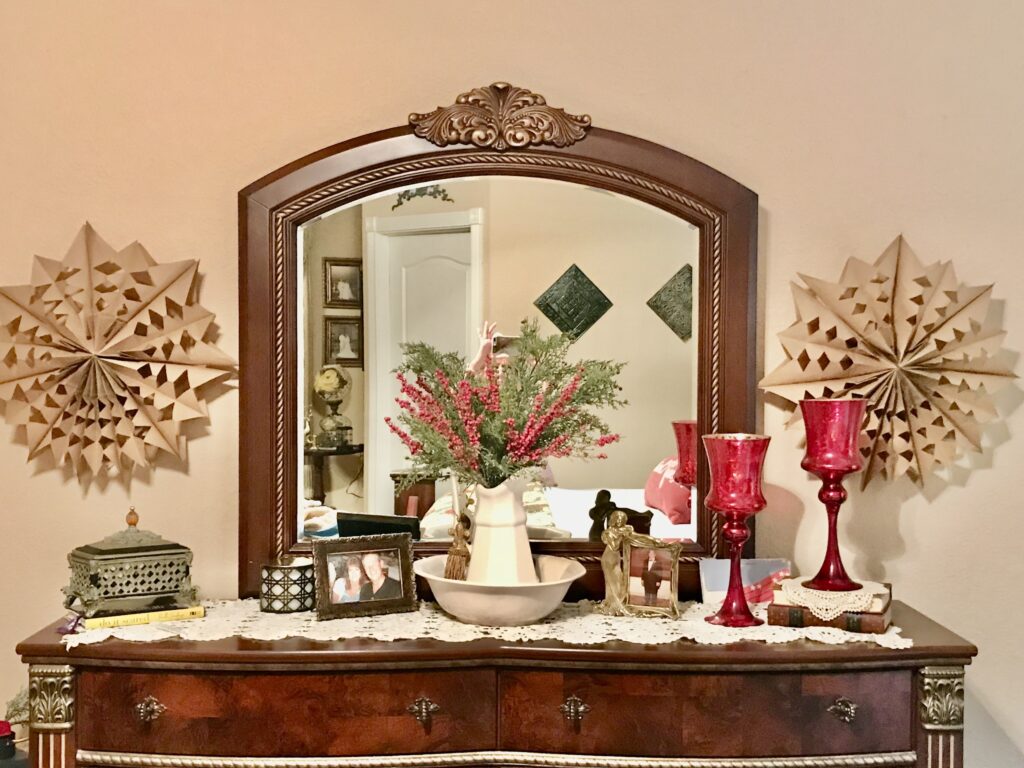
Like I said above, I needed some seasonal wall decor for my bedroom to go on either side of my dresser. I felt that these were substantial enough in size, they were absolutely beautiful and they only cost a few cents to make! As you can see from the pic below, they turned out great!
How to hang paper bag snowflakes
This really depends on where you are going to be using your snowflake decor. I used dental floss to hang them on the wall. If you’re hanging them from the ceiling, punch a small hole at the top of the bag and use either twine or fishing line. The fishing line will give them a floating effect because it’s virtually invisible.
There you have it! Such a fun, simple & cheap Christmas craft that you can make with your kids or grandkids! You get so much bang for your buck with these beautiful snowflakes and you can have an entire room decorated in just a few minutes!
Don’t stop with Christmas decor, though! These would make great decorations for birthdays, showers or just about any party celebration! You can make these fit into just about any decor and you can certainly use different colored bags, as well!
So just have fun with this one, friends!
Shop this post:
Multi-purpose titanium scissors
Here are links to the supplies I used. You may be able to find the paper bags at your local grocery store for cheaper than Amazon, but if you don’t live close to any stores, Amazon is the next best option.

If you’d like more budget friendly crafts or decor, check out:
Dollar Tree Tiered Tray – An Easy & Fun DIY
How To Make A Coffee Filter Wreath
Also, be sure to subscribe to my monthly/semi monthly newsletter so you don’t miss a post! I would also love for you join our Love To Frugal community by following me on Pinterest, Instagram and Facebook for more money saving tips!
