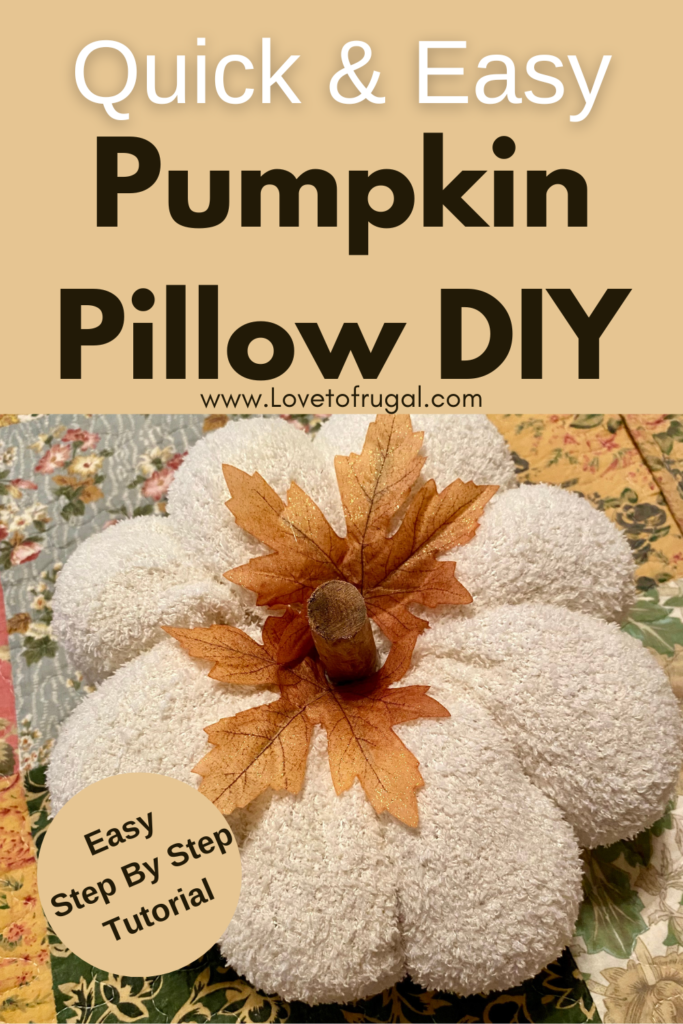
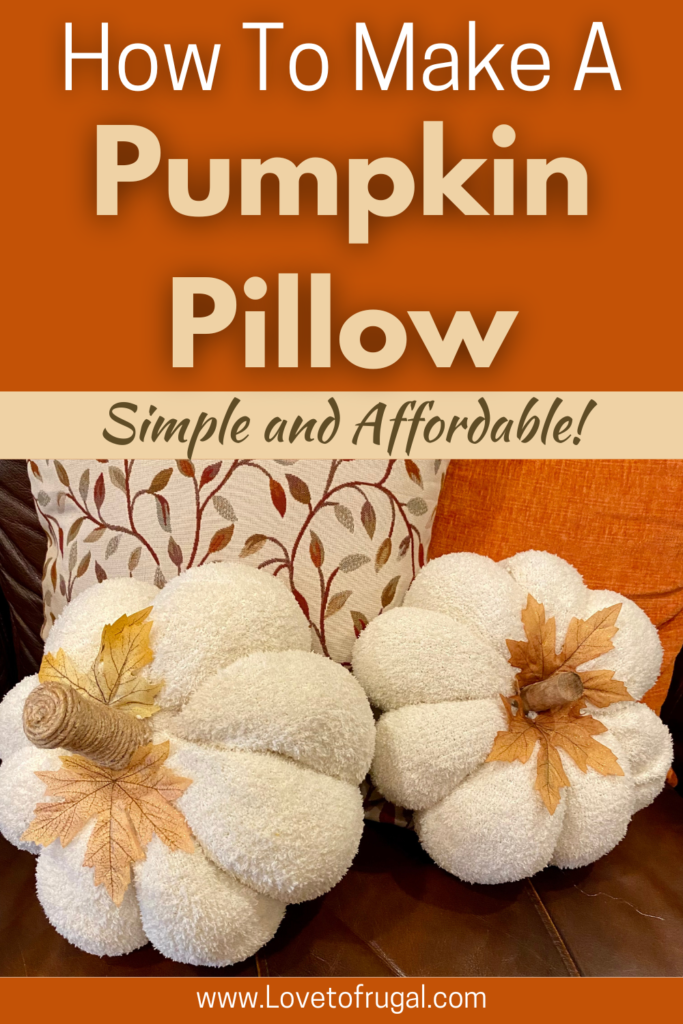
How To Make A Pumpkin Pillow
If you’re getting in the mood to add a little Fall decor to your home, I’d love to show you how to make a pumpkin pillow (or a few!) They’re perfect to add a little charm and whimsey this season AND they’re quick & easy to make! The best part about making them is they don’t take much crafting or sewing skills and you can totally customize them to fit your decor and color scheme!
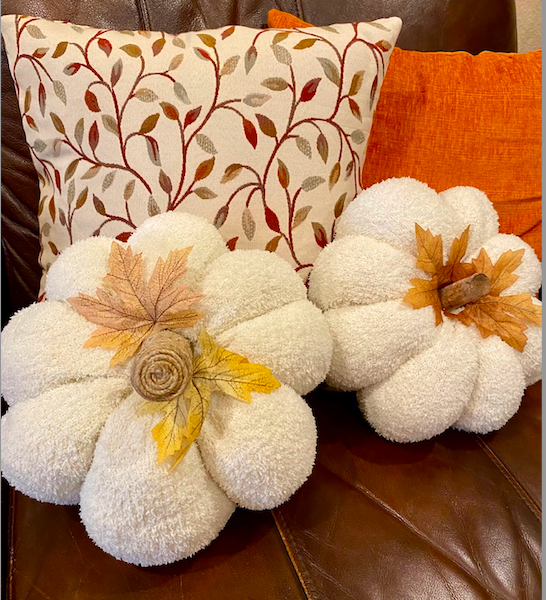
If you’ve priced them lately, they can run up into the money. Pottery Barn sells them for $29-$39.00 each! So, as a typical, frugal crafter, I started looking for ways to make my own for a fraction of the the cost and (in my opinion), these came out every bit as cute as the Pottery Barn pumpkin pillows!
I purchased a yard of fabric for about $6 (on sale) at Hobby Lobby and was able to make 3 medium pumpkins and 2 small ones. Not too shabby!
I used a very soft ‘boucle’ fabric but you can also use a thicker, fluffier sherpa or basically any type of fabric. Check Hobby Lobby, Michael’s, JoAnn’s or even Walmart for a wide variety to choose from.
*This post may contain affiliate links, which means that if you buy a suggested product, I will earn a small commission, at no extra cost to you. For more information, see my disclosure page.
How To Make A Pumpkin Shaped Pillow
I chose a neutral colored boucle fabric that goes with just about any color scheme. Hobby Lobby carries it in the off white (like the one I usedI) and they also carry a tan color. If you’re more traditional with fall colors, you may be able to find an orange sherpa, but I did notice that Hobby Lobby had the neutral colors, as well.
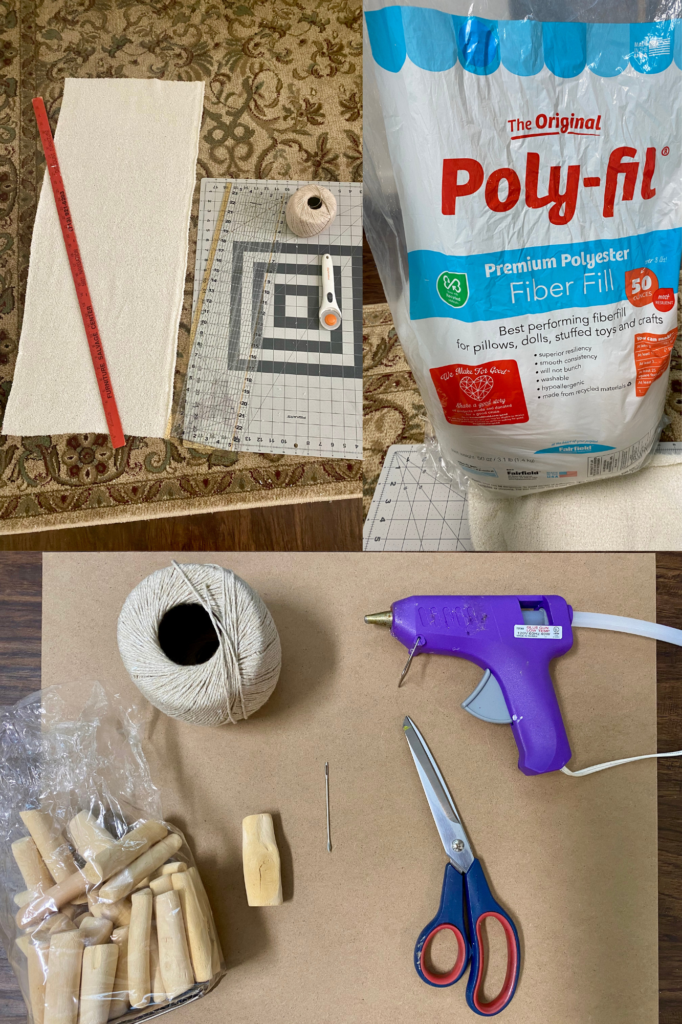
Supplies needed:
- Fabric – You can use a Boucle (like what I used…available at Hobby Lobby), Sherpa or a Teddy Bear fabric.
- Polyfil – If you don’t have Polyfil, you can purchase a sleeping pillow (much cheaper) and use the filling from that. (I just happened to have some Polyfil on hand.)
- Large needle – An upholstery needle, tapestry needle or repair needle (available at craft stores or Walmart notions department.
- Upholstery thread/twine – I used a natural string as seen above.
- Fabric scissors
- Hot glue gun with glue sticks
- Stem – I used a wooden stick that had been cut and sanded. I got a whole bag of them at Goodwill for $2.99. You could also use a stick from outside, a wine cork, cinnamon sticks, or a fabric scrap that’s been rolled up and glue in the shape of a stem. You can take that a step further and wrap any of these with jute twine. (I did that with larger pumpkin, below).
- Leaves – optional, to embellish around the stem.
Step 1: Measure and cut the fabric
Lay the fabric out on a flat surface. You’re going to cut it into a rectangle.
- Large – 45″ x 22″
- Medium – 35″ x 15″ (This is the size I made and the ones that are in the pics.)
- Small – 22″ x 11″
The measurements need to be close but they don’t have to be precise.
step 2:
Fold the fabric in half with the short sides together. Make sure the right side of the fabric is to the inside. Using your large needle and upholstery thread or string, stitch the short sides together with a ‘running stitch’ as shown below. (You can double the thread if it’s not super thick, but my string was fairly thick, so I chose not to). The stitches don’t have to be perfect, but try and keep the a bout the same size, all the way down.
When you get to the end, tie the thread off in a knot.
step 3:
Now that you have a “tube”, sew one of the 2 open ends together, using the same stitch. When you get to the end, gently start pulling the thread to gather the fabric until you have completely closed up that end, then tie it off with a knot.
You’ll then turn the fabric right side out. You should have something that resembles a beanie hat.
step 4:
Now, sew a running stitch all the way around the opening. When you get to the end, make sure to leave a fairly long ‘tail’ with the thread.
step 5:
Stuff your pumpkin pillow with as much Polyfil as desired. I filled mine up as I wanted it to be very full.
Once you get it filled, gently pull the thread until you close the hole. Tie a knot and then take your needle and thread and completely close the hole off by sewing the opening closed. I did 3-4 stitches and knotted it off.
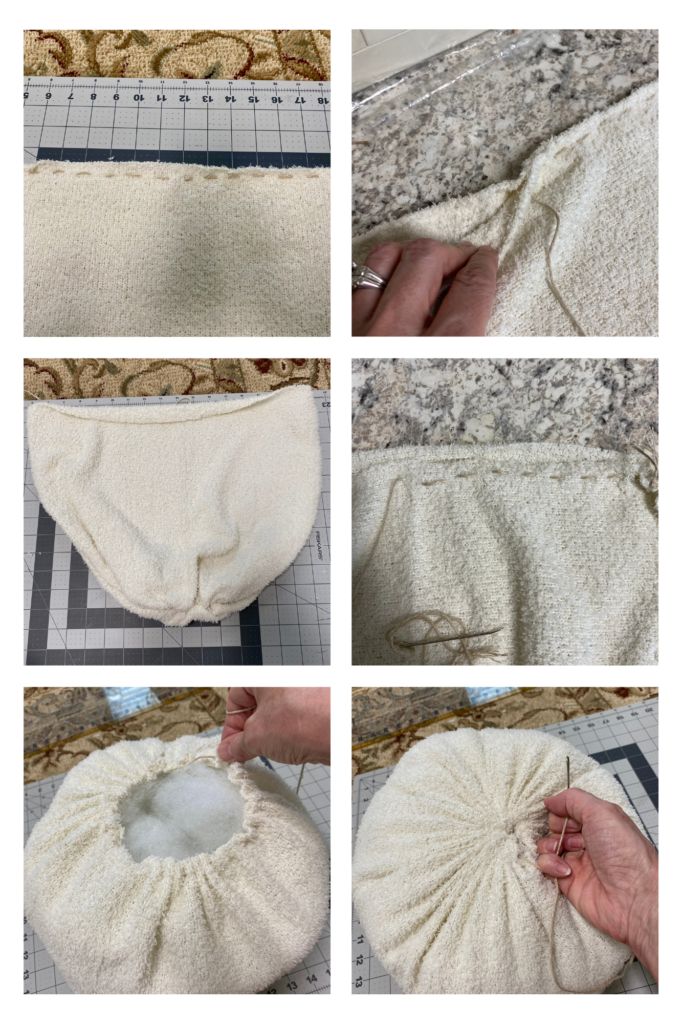
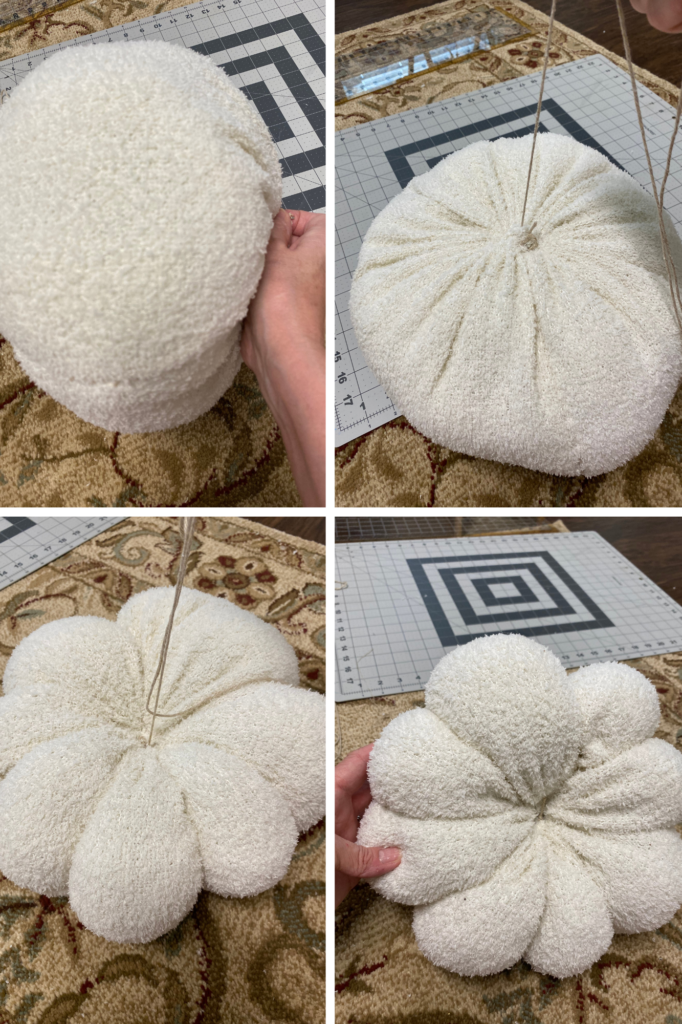
step 6: making the pumpkin ridges
Now, you will have a round ball. Thread your needle with a generous amount of thread (the longer the better) and insert the needle through the bottom center of the pumpkin up the center and out the top center.
Bring the thread around and down and reinsert the needle in the bottom and back up through the top. Go directly across from the ridge and repeat the process until you have 8 ‘lumps’, finishing with the needle coming out of the top of the pumpkin. Tie the thread off (tightly) and then sew 2-3 stitches in the opening to permanently close it off.
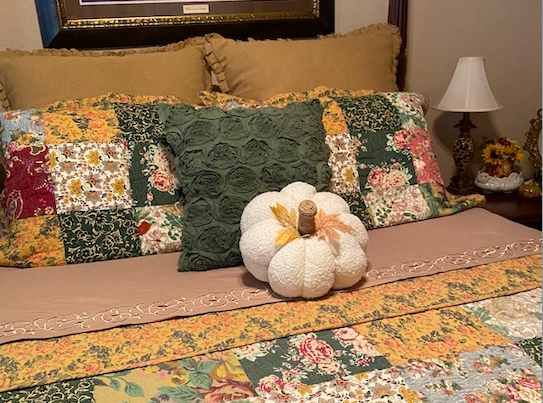
Now, your pillow is looking like a pumpkin!
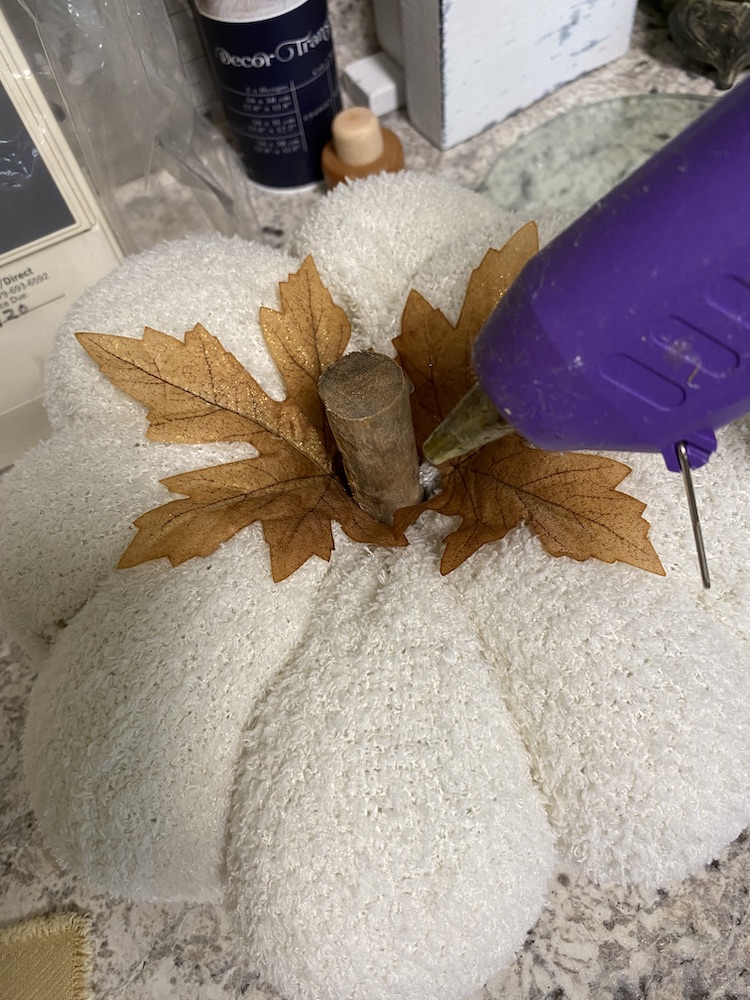
step 6: making the stem
You can make the stem out of several different things. Here are a few ideas:
- A twig from your yard. Just cut it to the desired size (about 2″-3″)
- Wine cork(s)
- A dried out stem from a real pumpkin
- 2-3 short cinnamon sticks glued together
- Rolled up fabric/felt – Take a small, scrap piece of fabric and roll it up to resemble a stem. Hot glue the edge of the fabric. You can take this one a step further and hot glue jute twine all the way around it. (I did this on larger pumpkin).
In the pic below, I used a twig/branch that I found outside. I put a liberal amount of hot glue on one end and glued it into the center of the pumpkin. Then, I embellished it with a couple of faux leaves that I had in my florals. This isn’t necessary, but I thought it added a little pizzaz to my pumpkin pillows.
**TIP – If you have any fabric/scraps left over, don’t throw them away! You can make little pumpkins out of them using this same method. As I said above, I got 3 medium pumpkins and two very small pumpkins out of my material and they turned out adorable!
Why DIY Pumpkin Pillows?
Making your own pumpkin pillow not only saves money but also gives you a one-of-a-kind home décor item. You can customize the size, fabric, and colors to perfectly match your home’s fall theme AND these pillows make wonderful handmade gifts for friends and family during the autumn season!
For more money-saving tips and strategies, subscribe to our newsletter at Love to Frugal! You can also follow me on Pinterest, Facebook & Instagram for even more money saving, frugal living tips!
Have you made one of these pillows before? Let me know in the comments below on how you used your pillow in your fall decorating!
OTHER POSTS YOU MAY BE INTERESTED IN:
Beautiful Fall Decorating Ideas On An Extra Small Budget
How To Make Paper Bag Snowflakes
How To Make A No Sew Fleece Blanket