Chocolate Depression Cake
This cake may be called Chocolate Depression cake, but don’t let the name fool you! This is a rich, moist & chocolatey cake that will surely put a big ol’ smile on your face!
This recipe is called a chocolate depression cake (aka a wacky cake or crazy cake) because it became popular during the Great Depression…a time when many common ingredients were hard to come by.
What’s crazy about this cake is that it’s made with no eggs, butter or milk! Just common ingredients that most people already have in their pantry.
I bet you’re thinking “How can you make a cake without eggs and have it turn out good?” Well…let me tell ya, you can AND it does!!
*This post may contain affiliate links, which means that if you buy a suggested product, I will earn a small commission, at no extra cost to you. For more information, see my disclosure page.
Chocolate Depression Cake
This delicious cake uses oil, water, baking soda and vinegar to replace the eggs & butter. The combination of the baking soda & vinegar is what makes the cake lighter and less dense. (Mixing 1 teaspoon of baking soda with 1 tablespoon of vinegar will replace 1 egg in most recipes.)
So if you’re ready to make a delicious cake that’s simple AND frugal, give this one a try! You can stick to the recipe or you can tweak it to suit your tastes. Either way, you’ll be glad you made it!
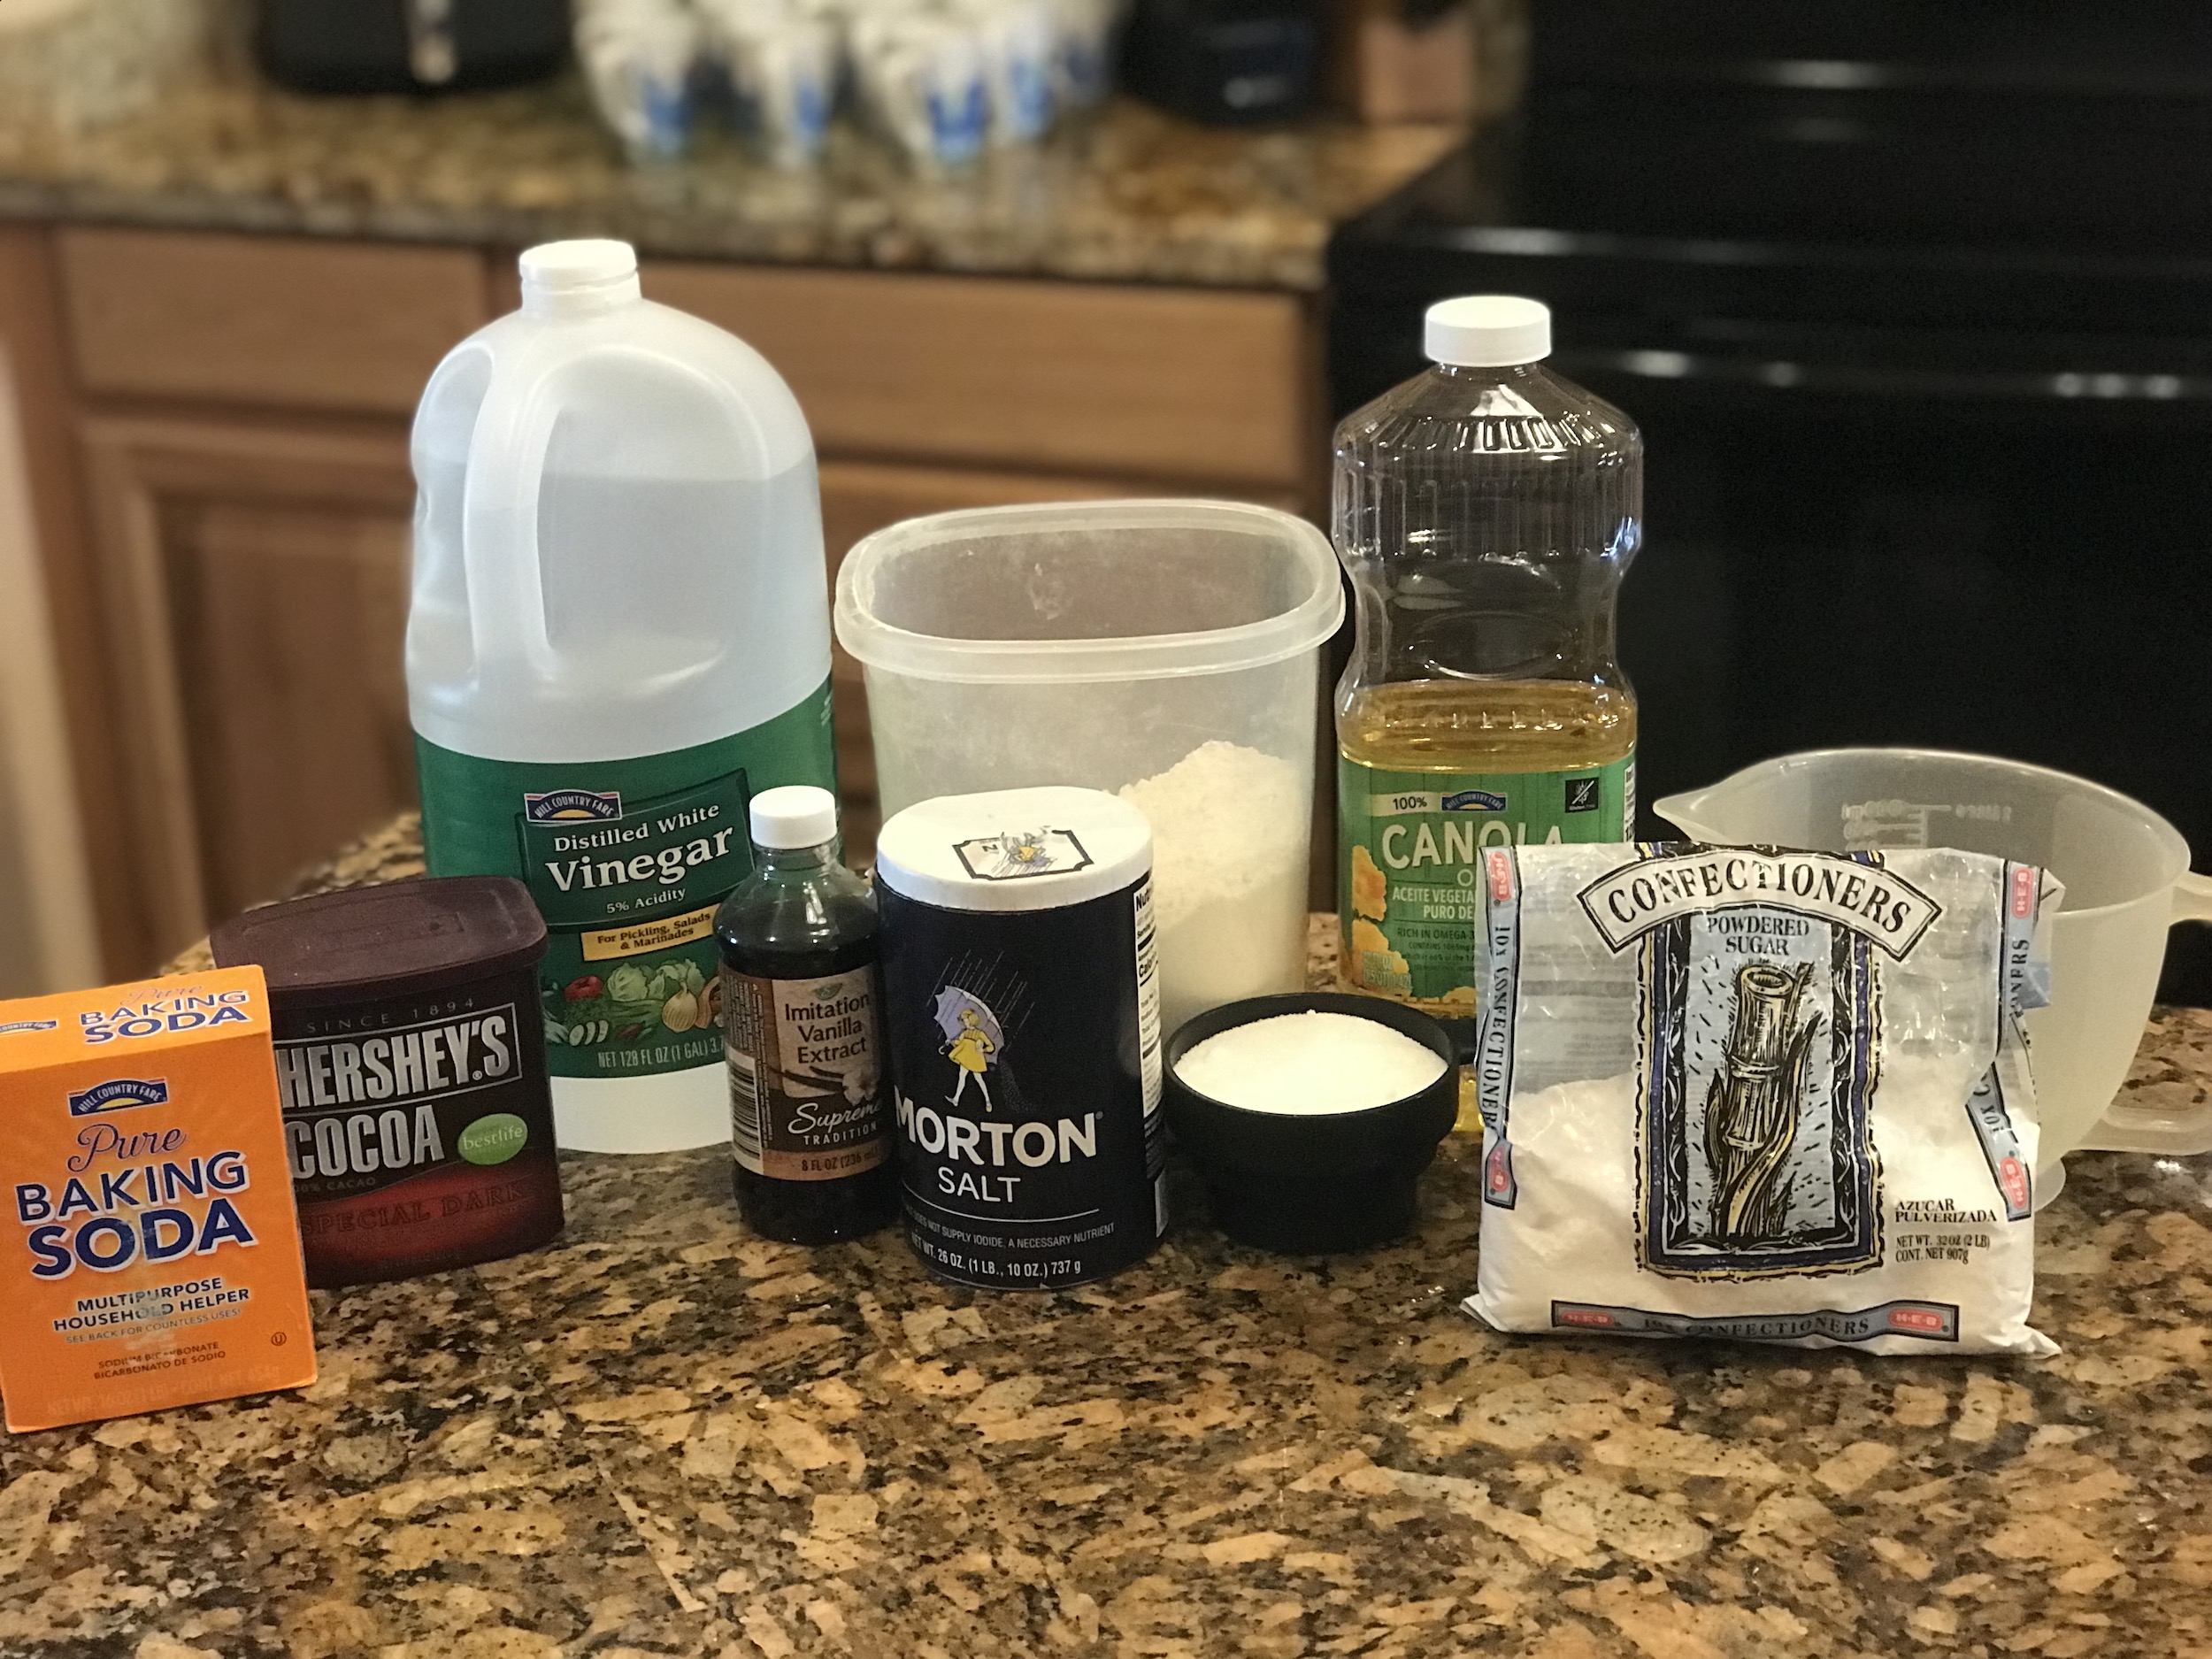
Here’s what you need:
- All purpose flour
- Sugar
- Unsweetened cocoa powder (dark or regular)
- Cooking oil (I used canola)
- Salt
- Baking soda
- Vinegar
- Vanilla extract
- Water
- Powdered sugar
**Printable recipe for the cake is at the bottom of this post**
let’s make it!
As you can see, all the ingredients (above) are staples that most people already have in their pantries.
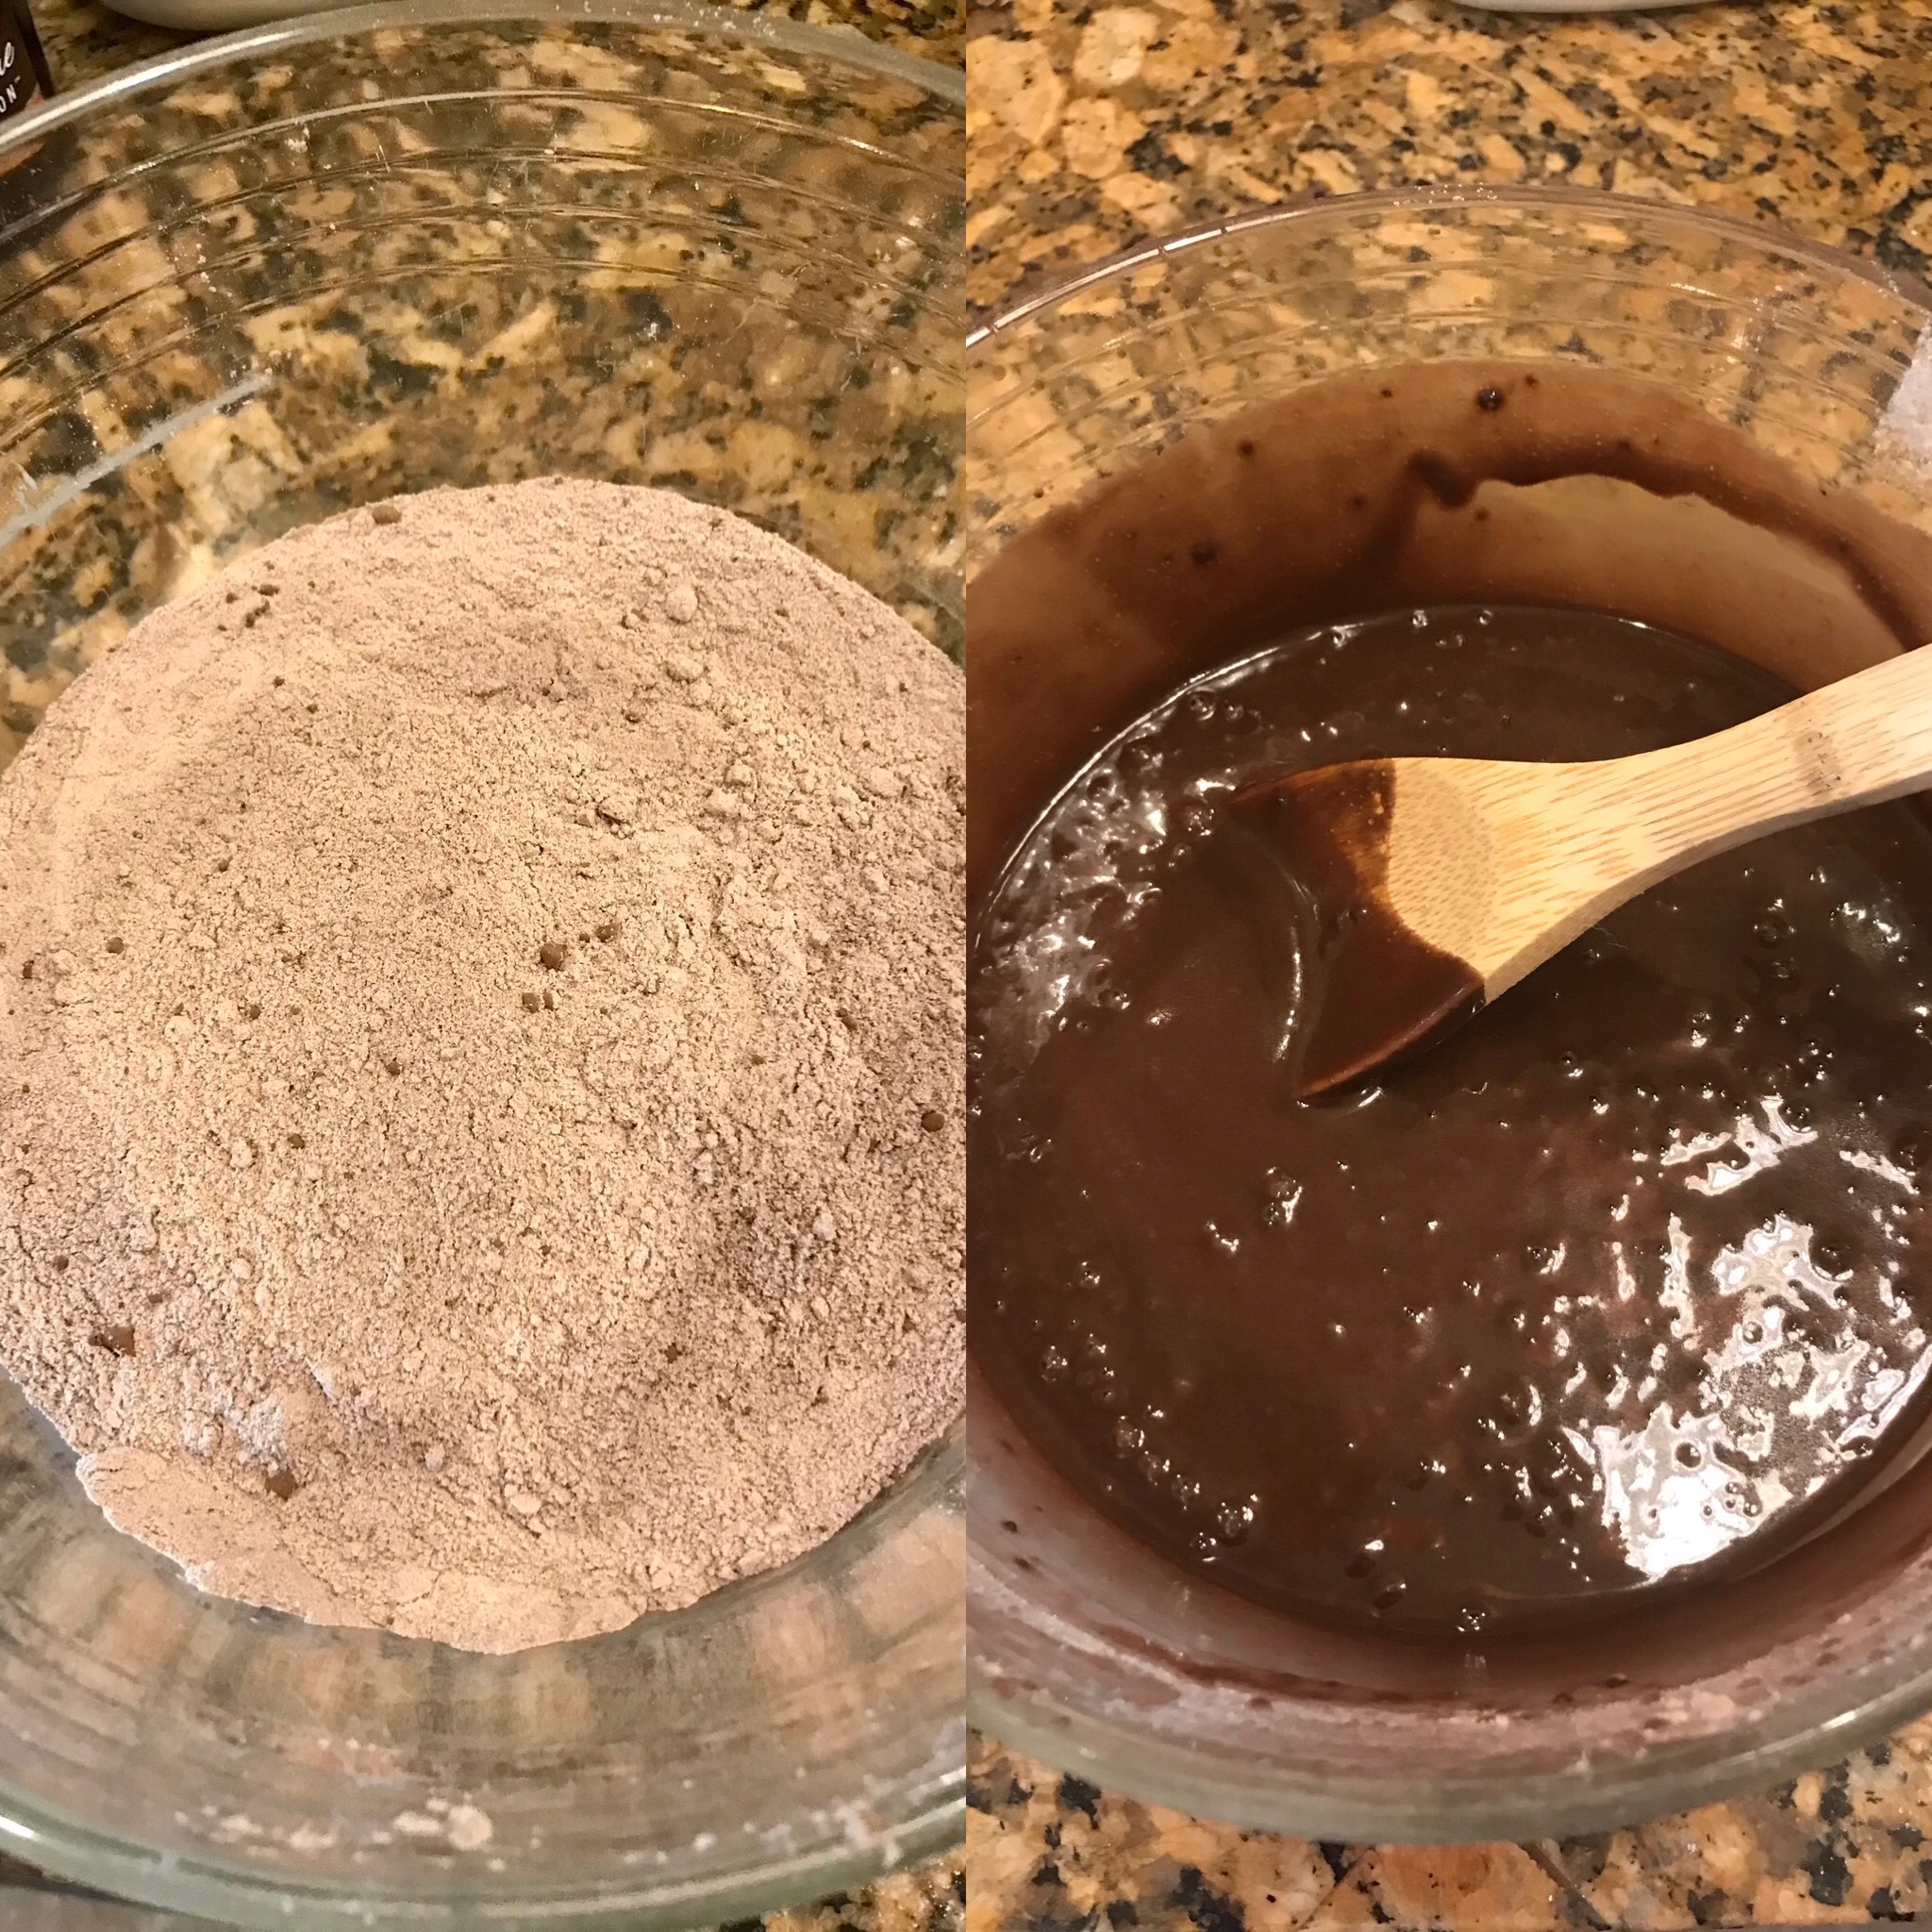
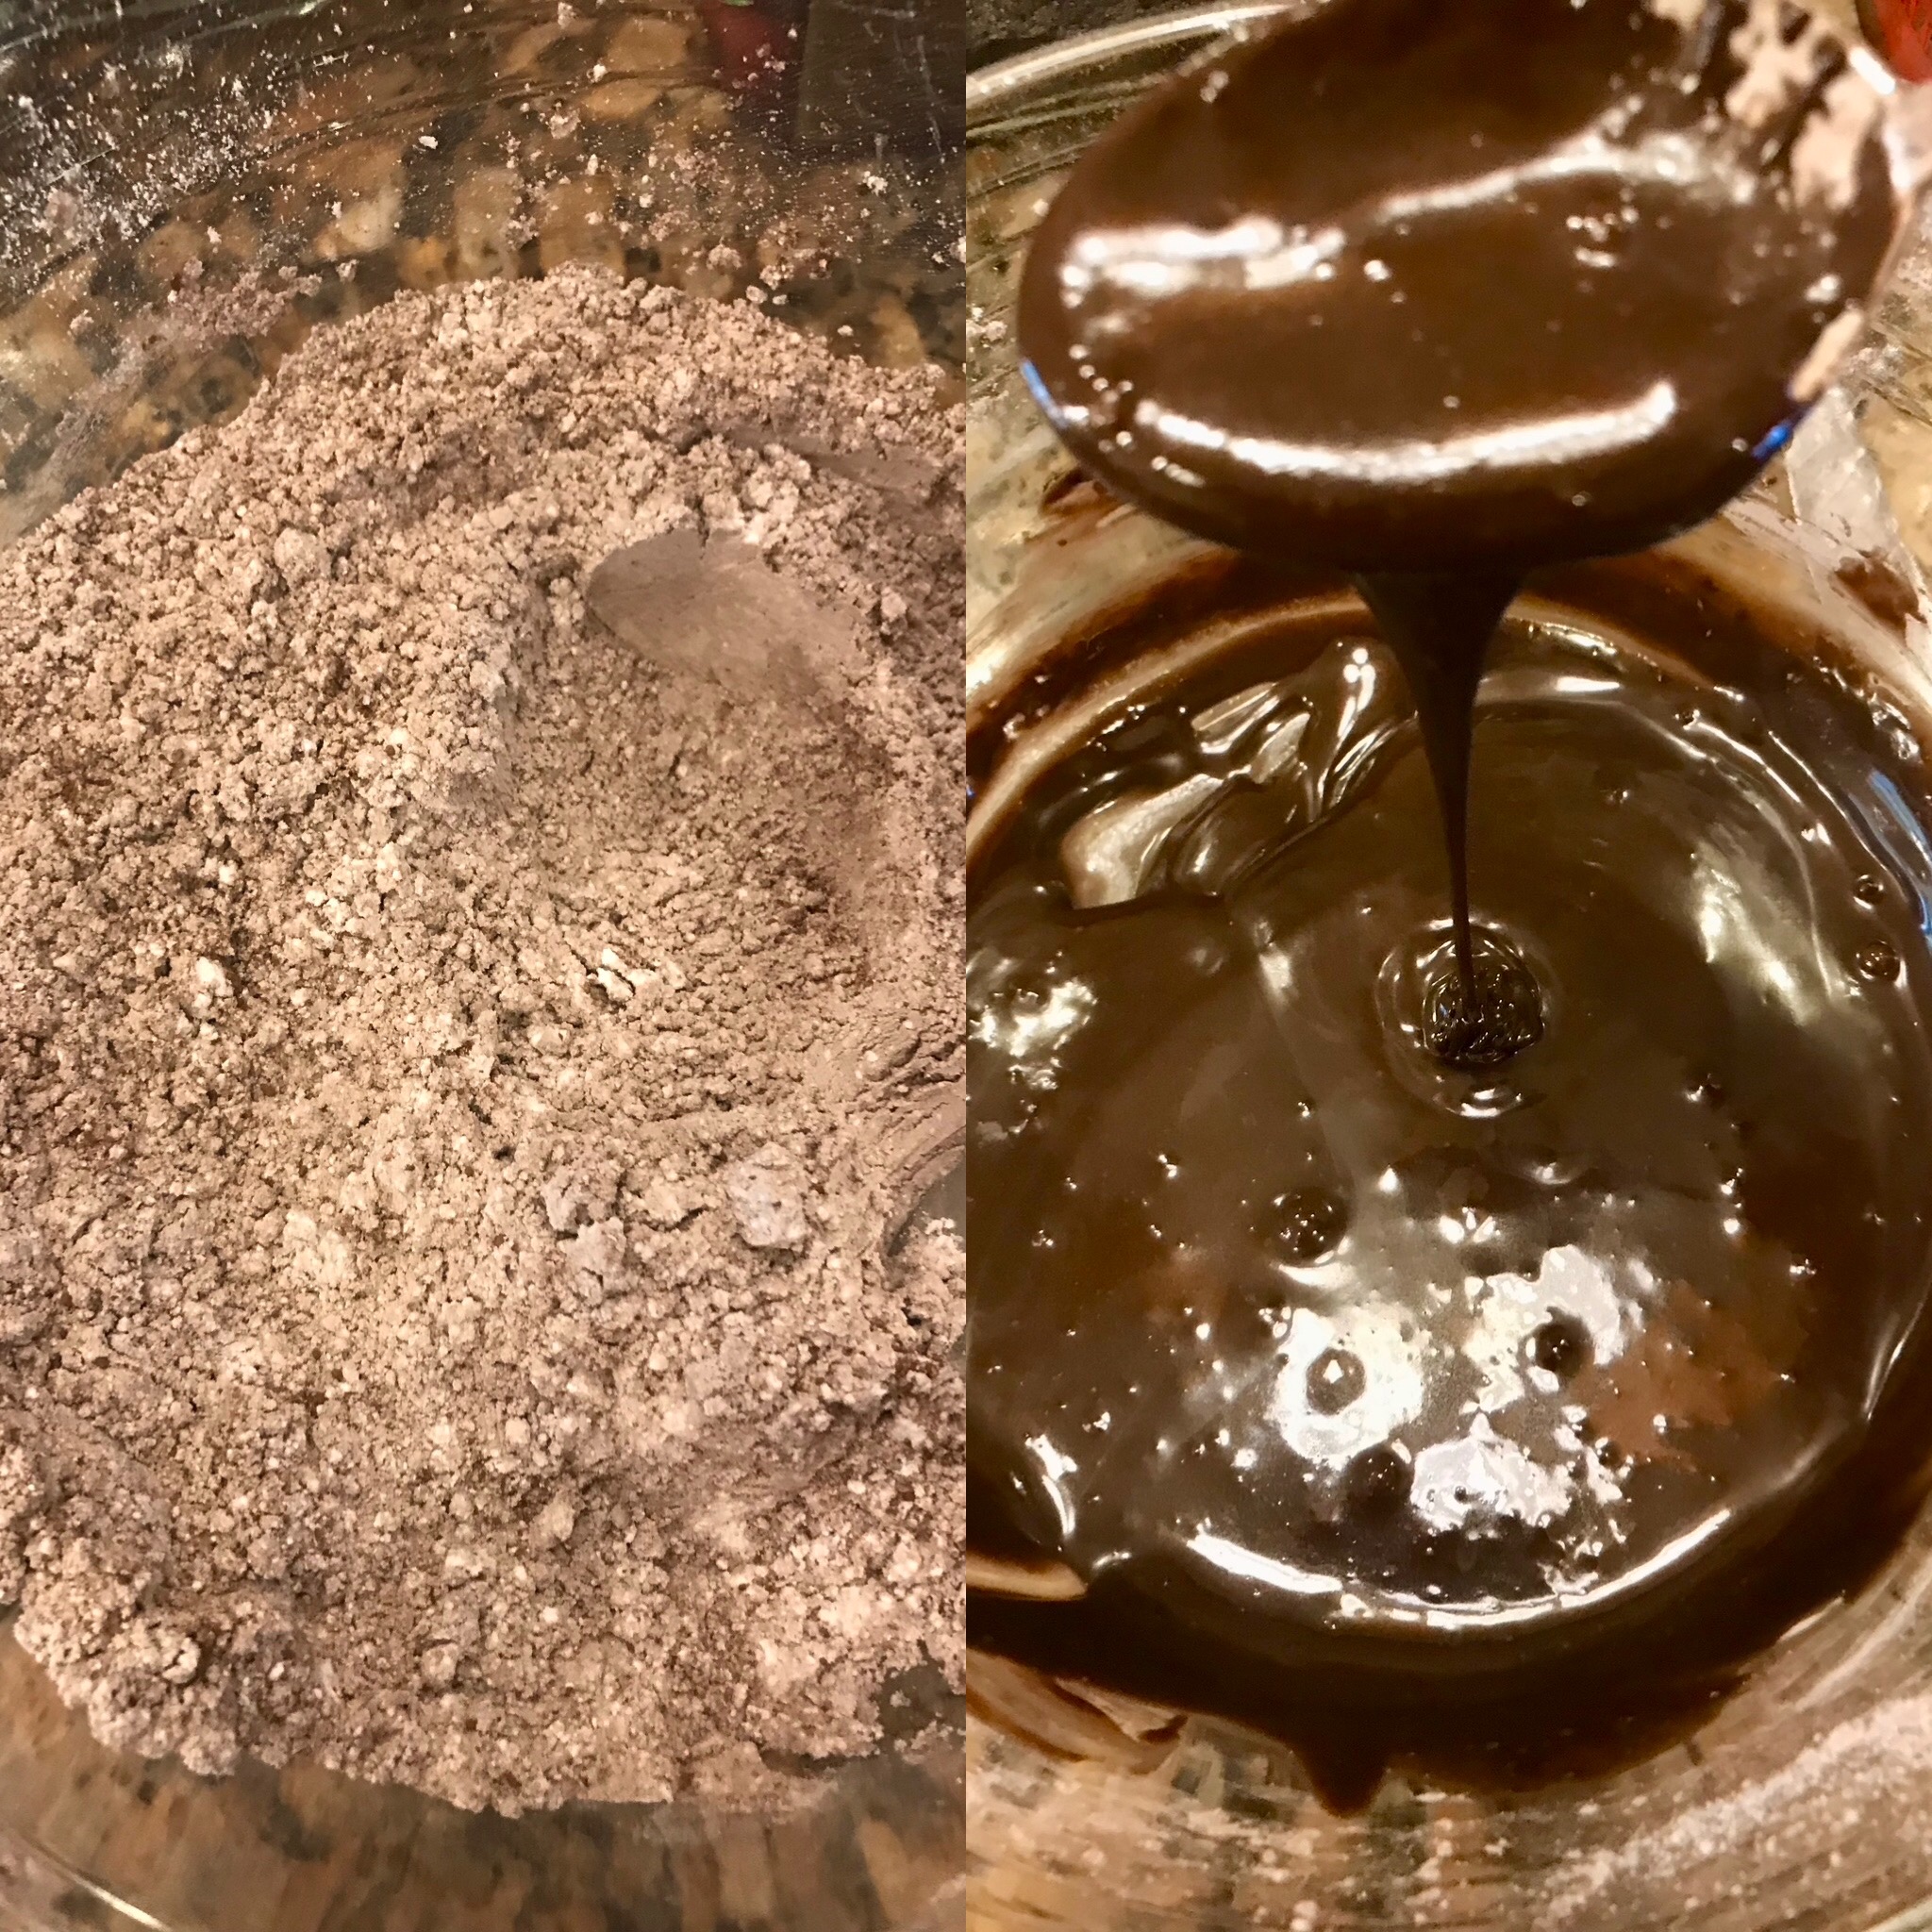
In a large bowl, stir together the flour, sugar, salt, baking soda, and cocoa powder until well combined. You can use a whisk for this, but I also sifted my flour to avoid large lumps.
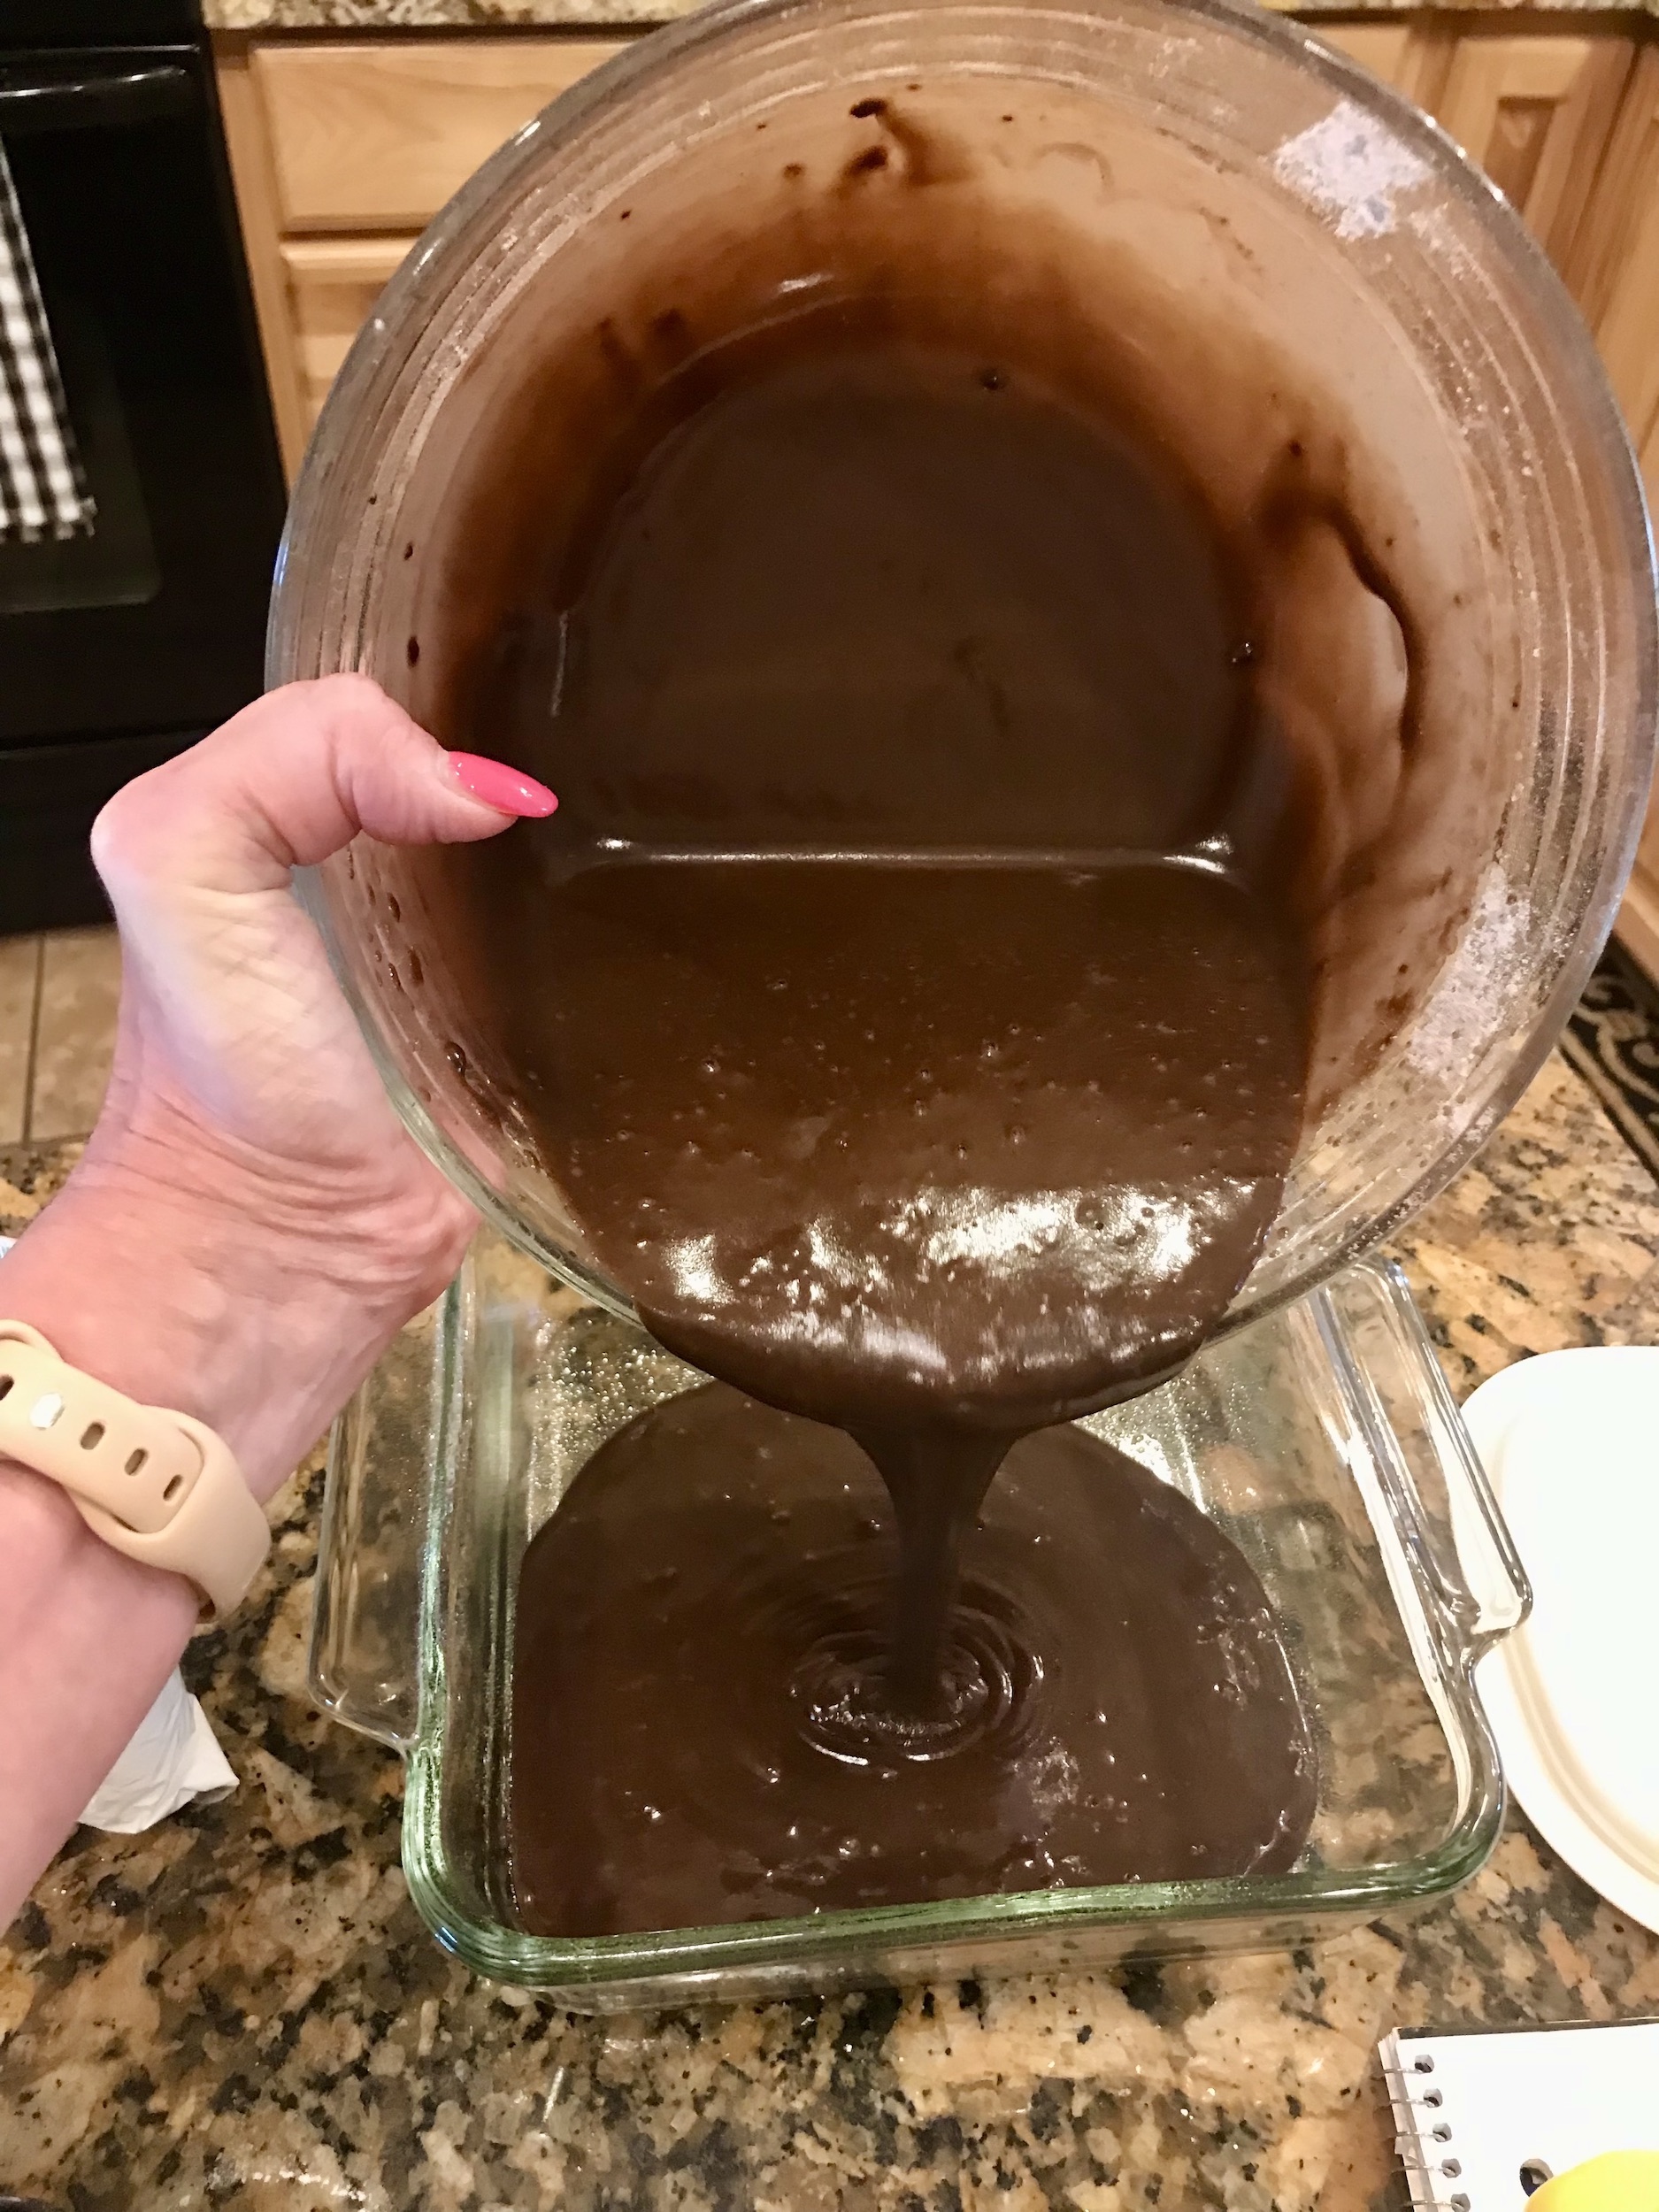
Pour the batter into a lightly sprayed 9 x 9 pan and bake in oven that’s been preheated to 350 degrees for about 30 minutes or until done. You can test with a toothpick. It’s done when the toothpick comes out clean.
how to serve
You can serve this cake plain or sprinkle powdered sugar over it when it’s cooled.
If you’d like to kick it up a notch, you can make a super easy, yummy frosting with powdered sugar, cocoa powder, vanilla & water! You will need to wait until the cake is completely cooled before adding this icing.
HOW TO MAKE THE ICING/FROSTING:
You’ll need:
- 1 1/2 cups powdered sugar
- 1/4 cup cocoa powder
- 1 tsp vanilla extract
- 3 Tbsp water
- Put powdered sugar & cocoa in a sifter and sift into a bowl or put in a bowl and whisk until there are no lumps.
-
Add the vanilla then begin adding water, 1 tablespoon at a time and stir until it is well blended, forming a thick and pourable icing (Make sure to only add 3 Tbsp of water. Any more and the icing will be too watery).
-
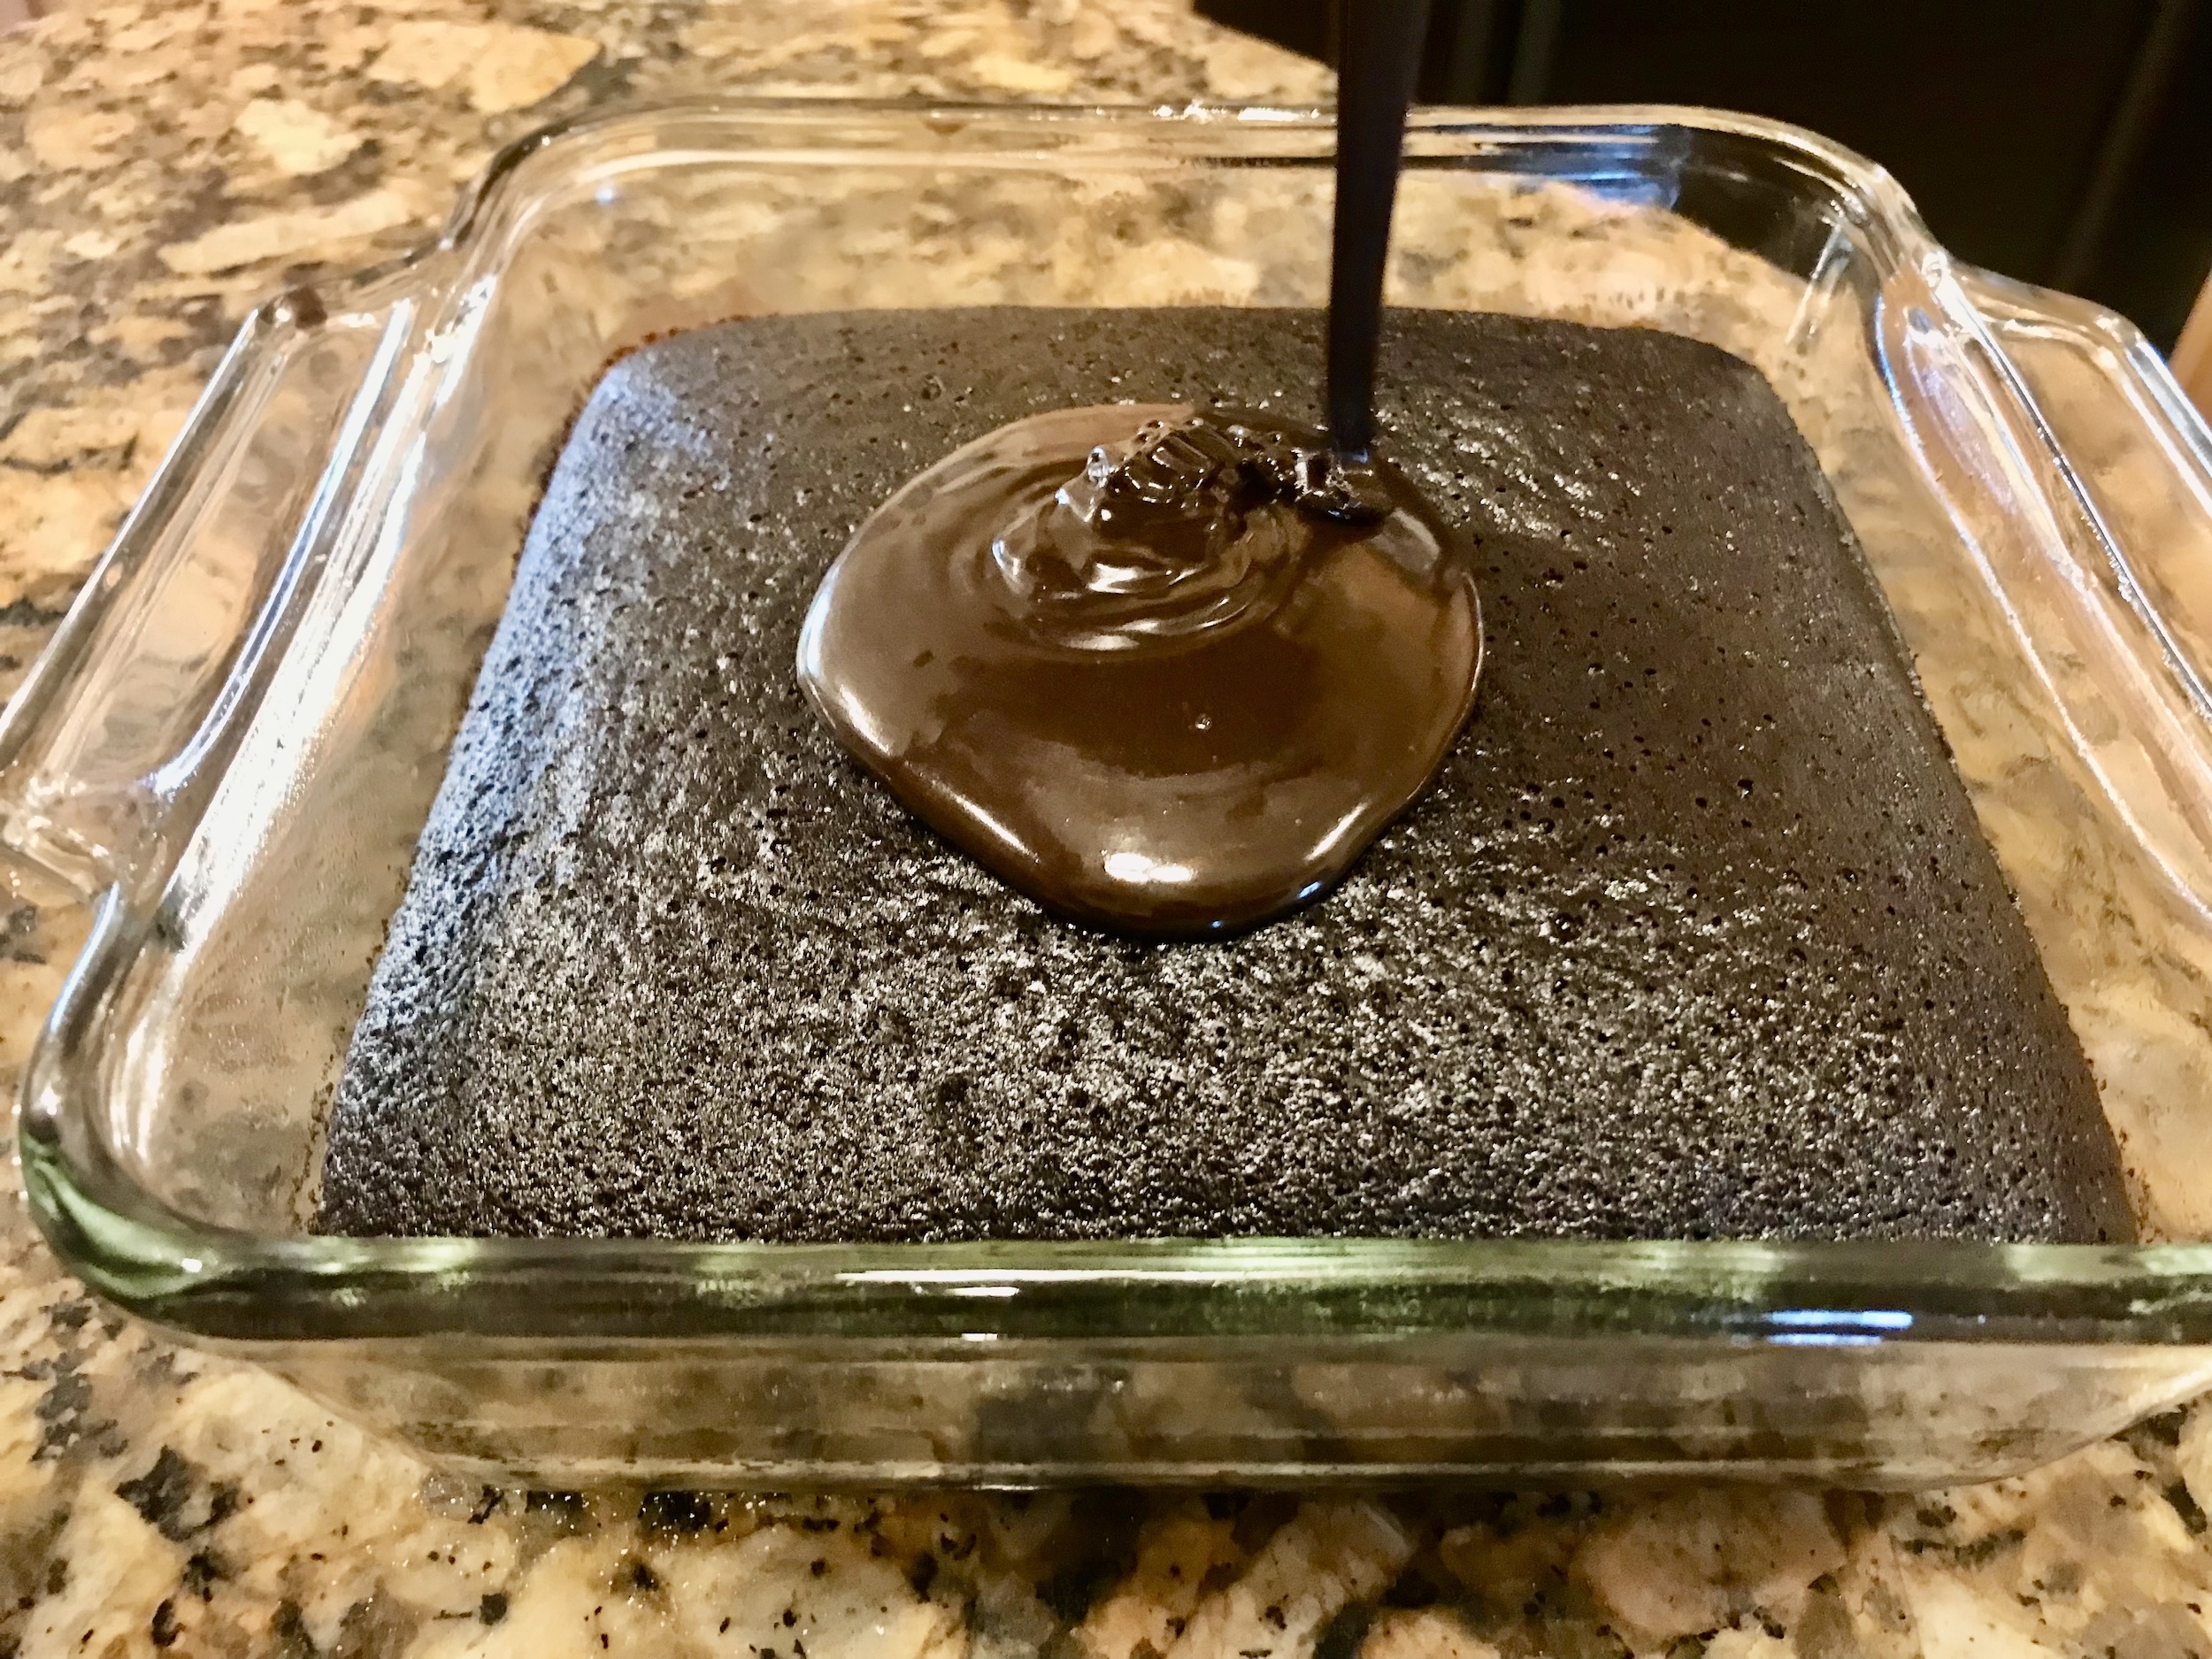
As soon as it’s at the right consistency, pour the icing over the cooled cake and spread with a knife or spatula until the cake is completely covered.
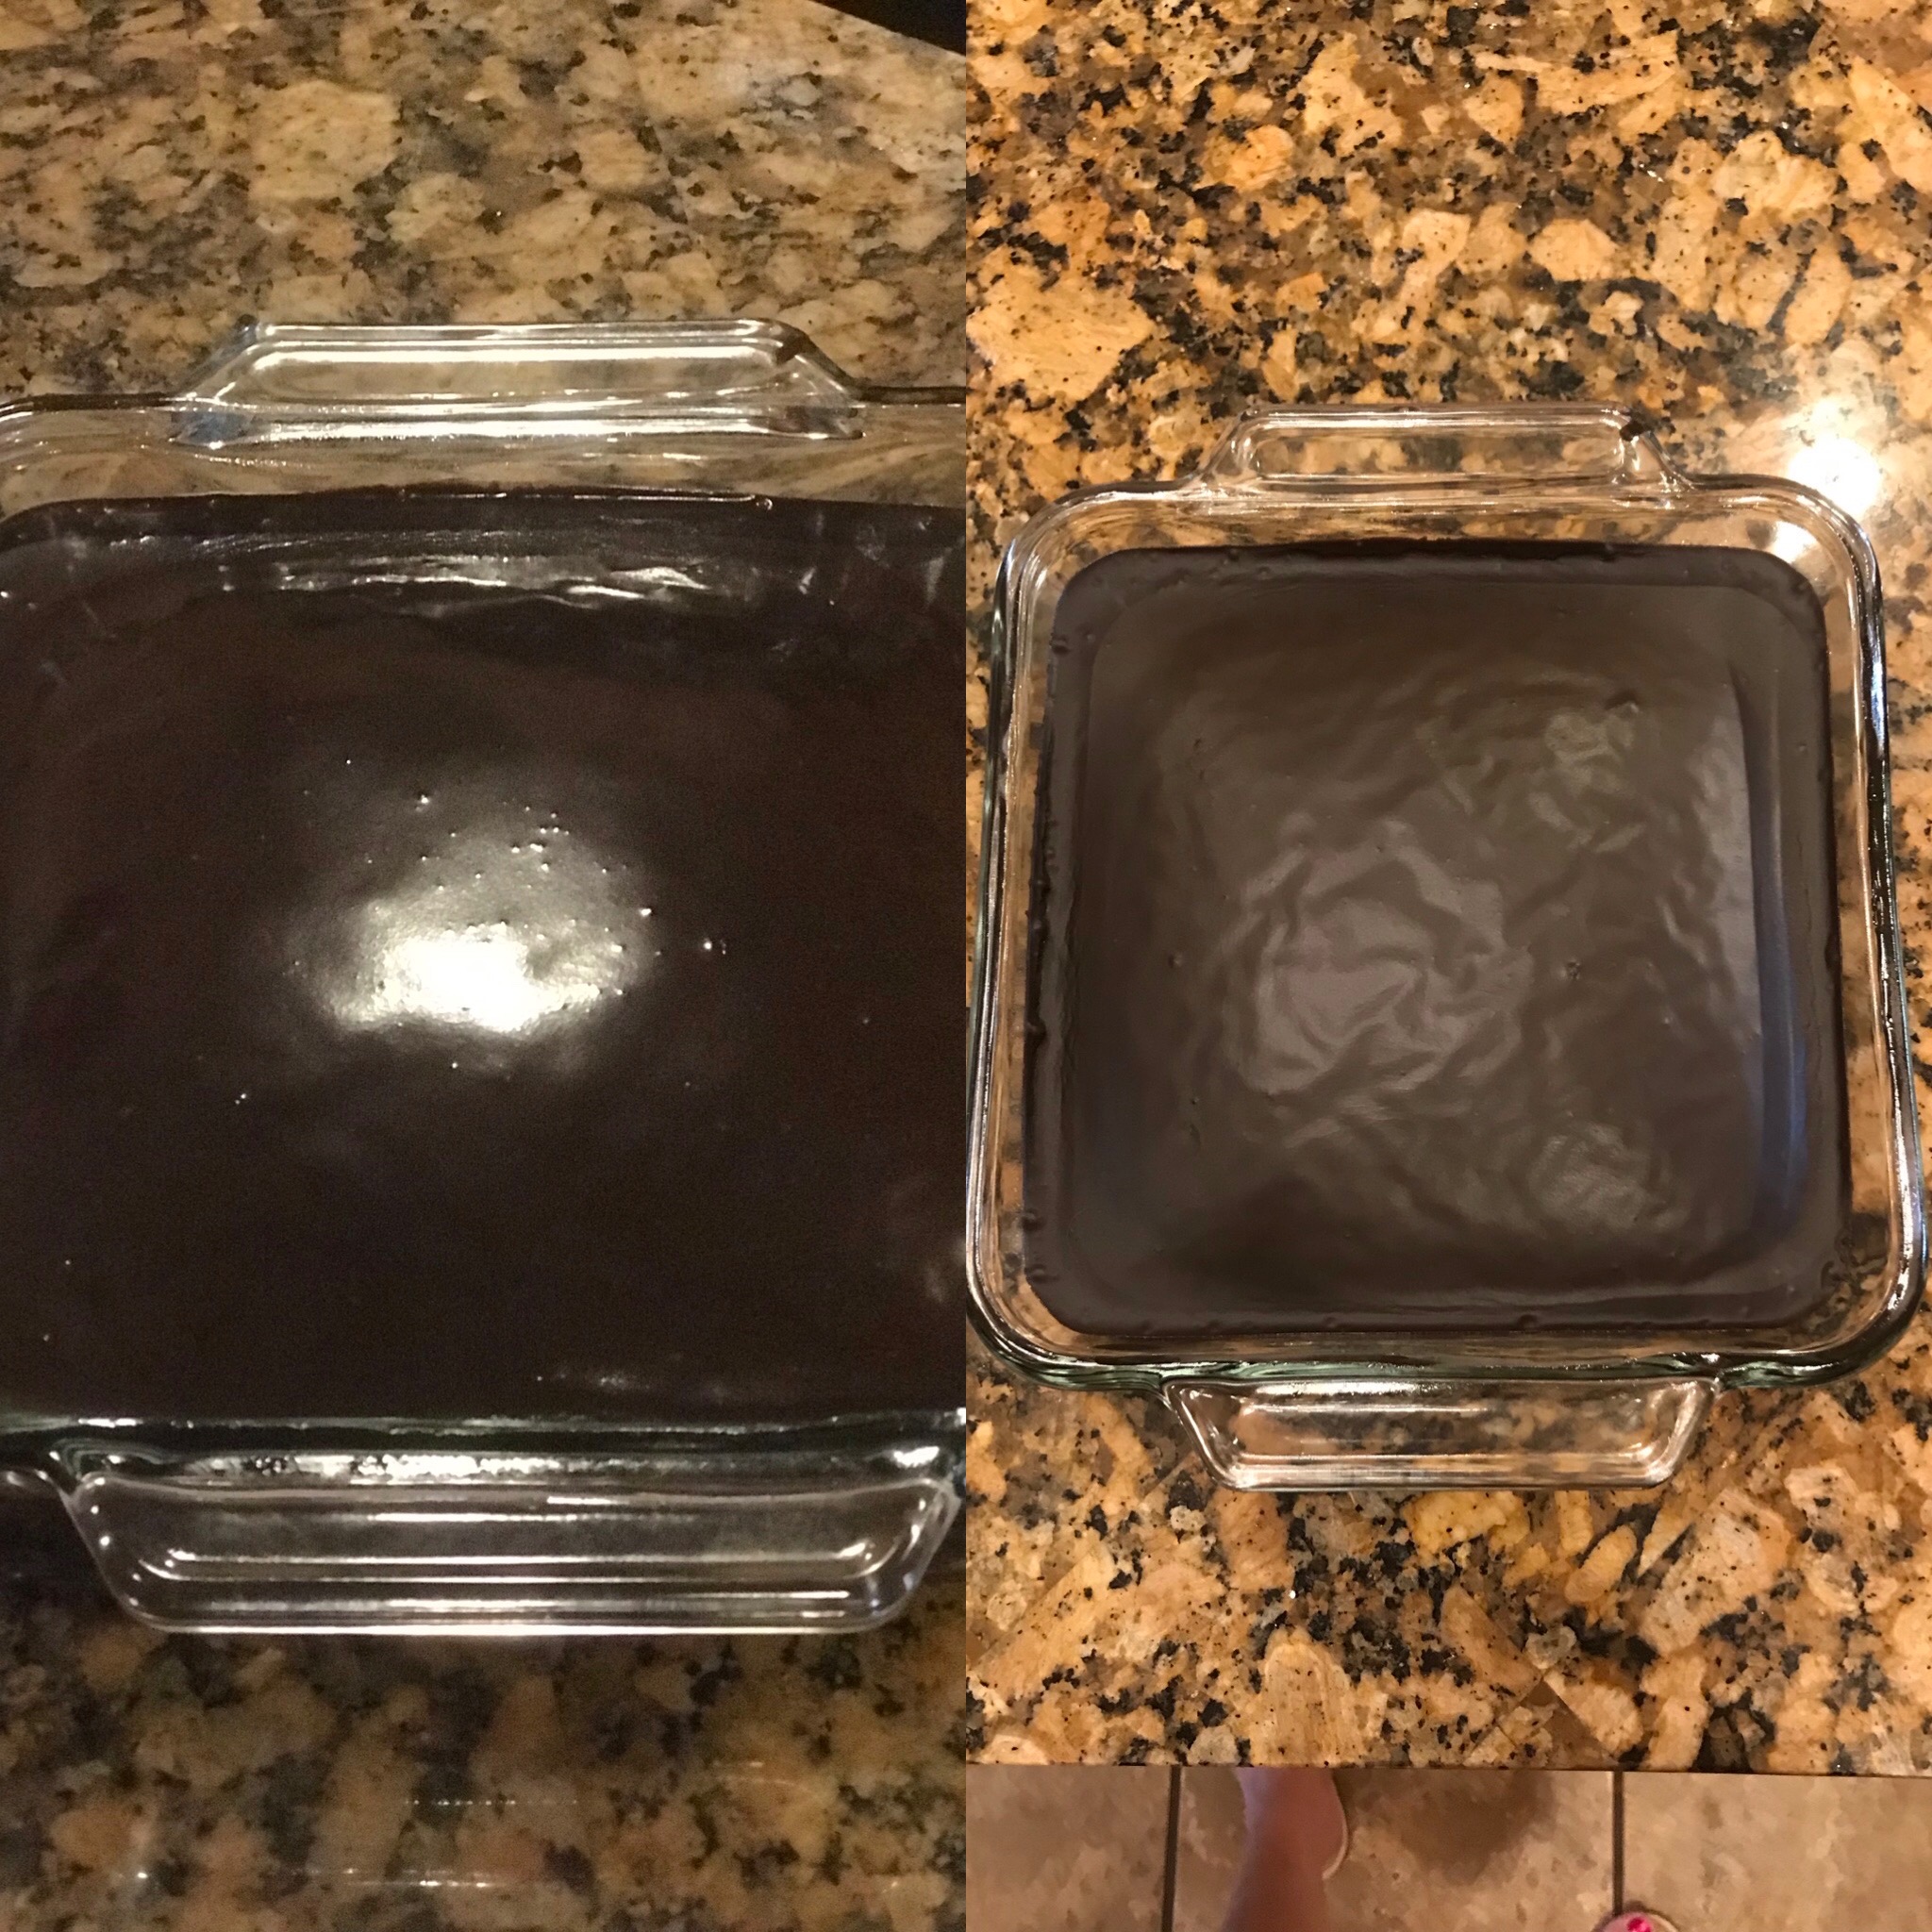
As you can see from the pictures, this is almost the consistency of ganache…smooth & creamy.
If you don’t stir enough, you may see some lumps. This will be the powdered sugar, but don’t worry as it will still be good.
You can see that the pic on the left shows what the frosting looks like when it was just poured onto the cake. The pic on the right shows that after about an hour or so, the frosting has firmed up!
It turned out perfect and was so darn easy!
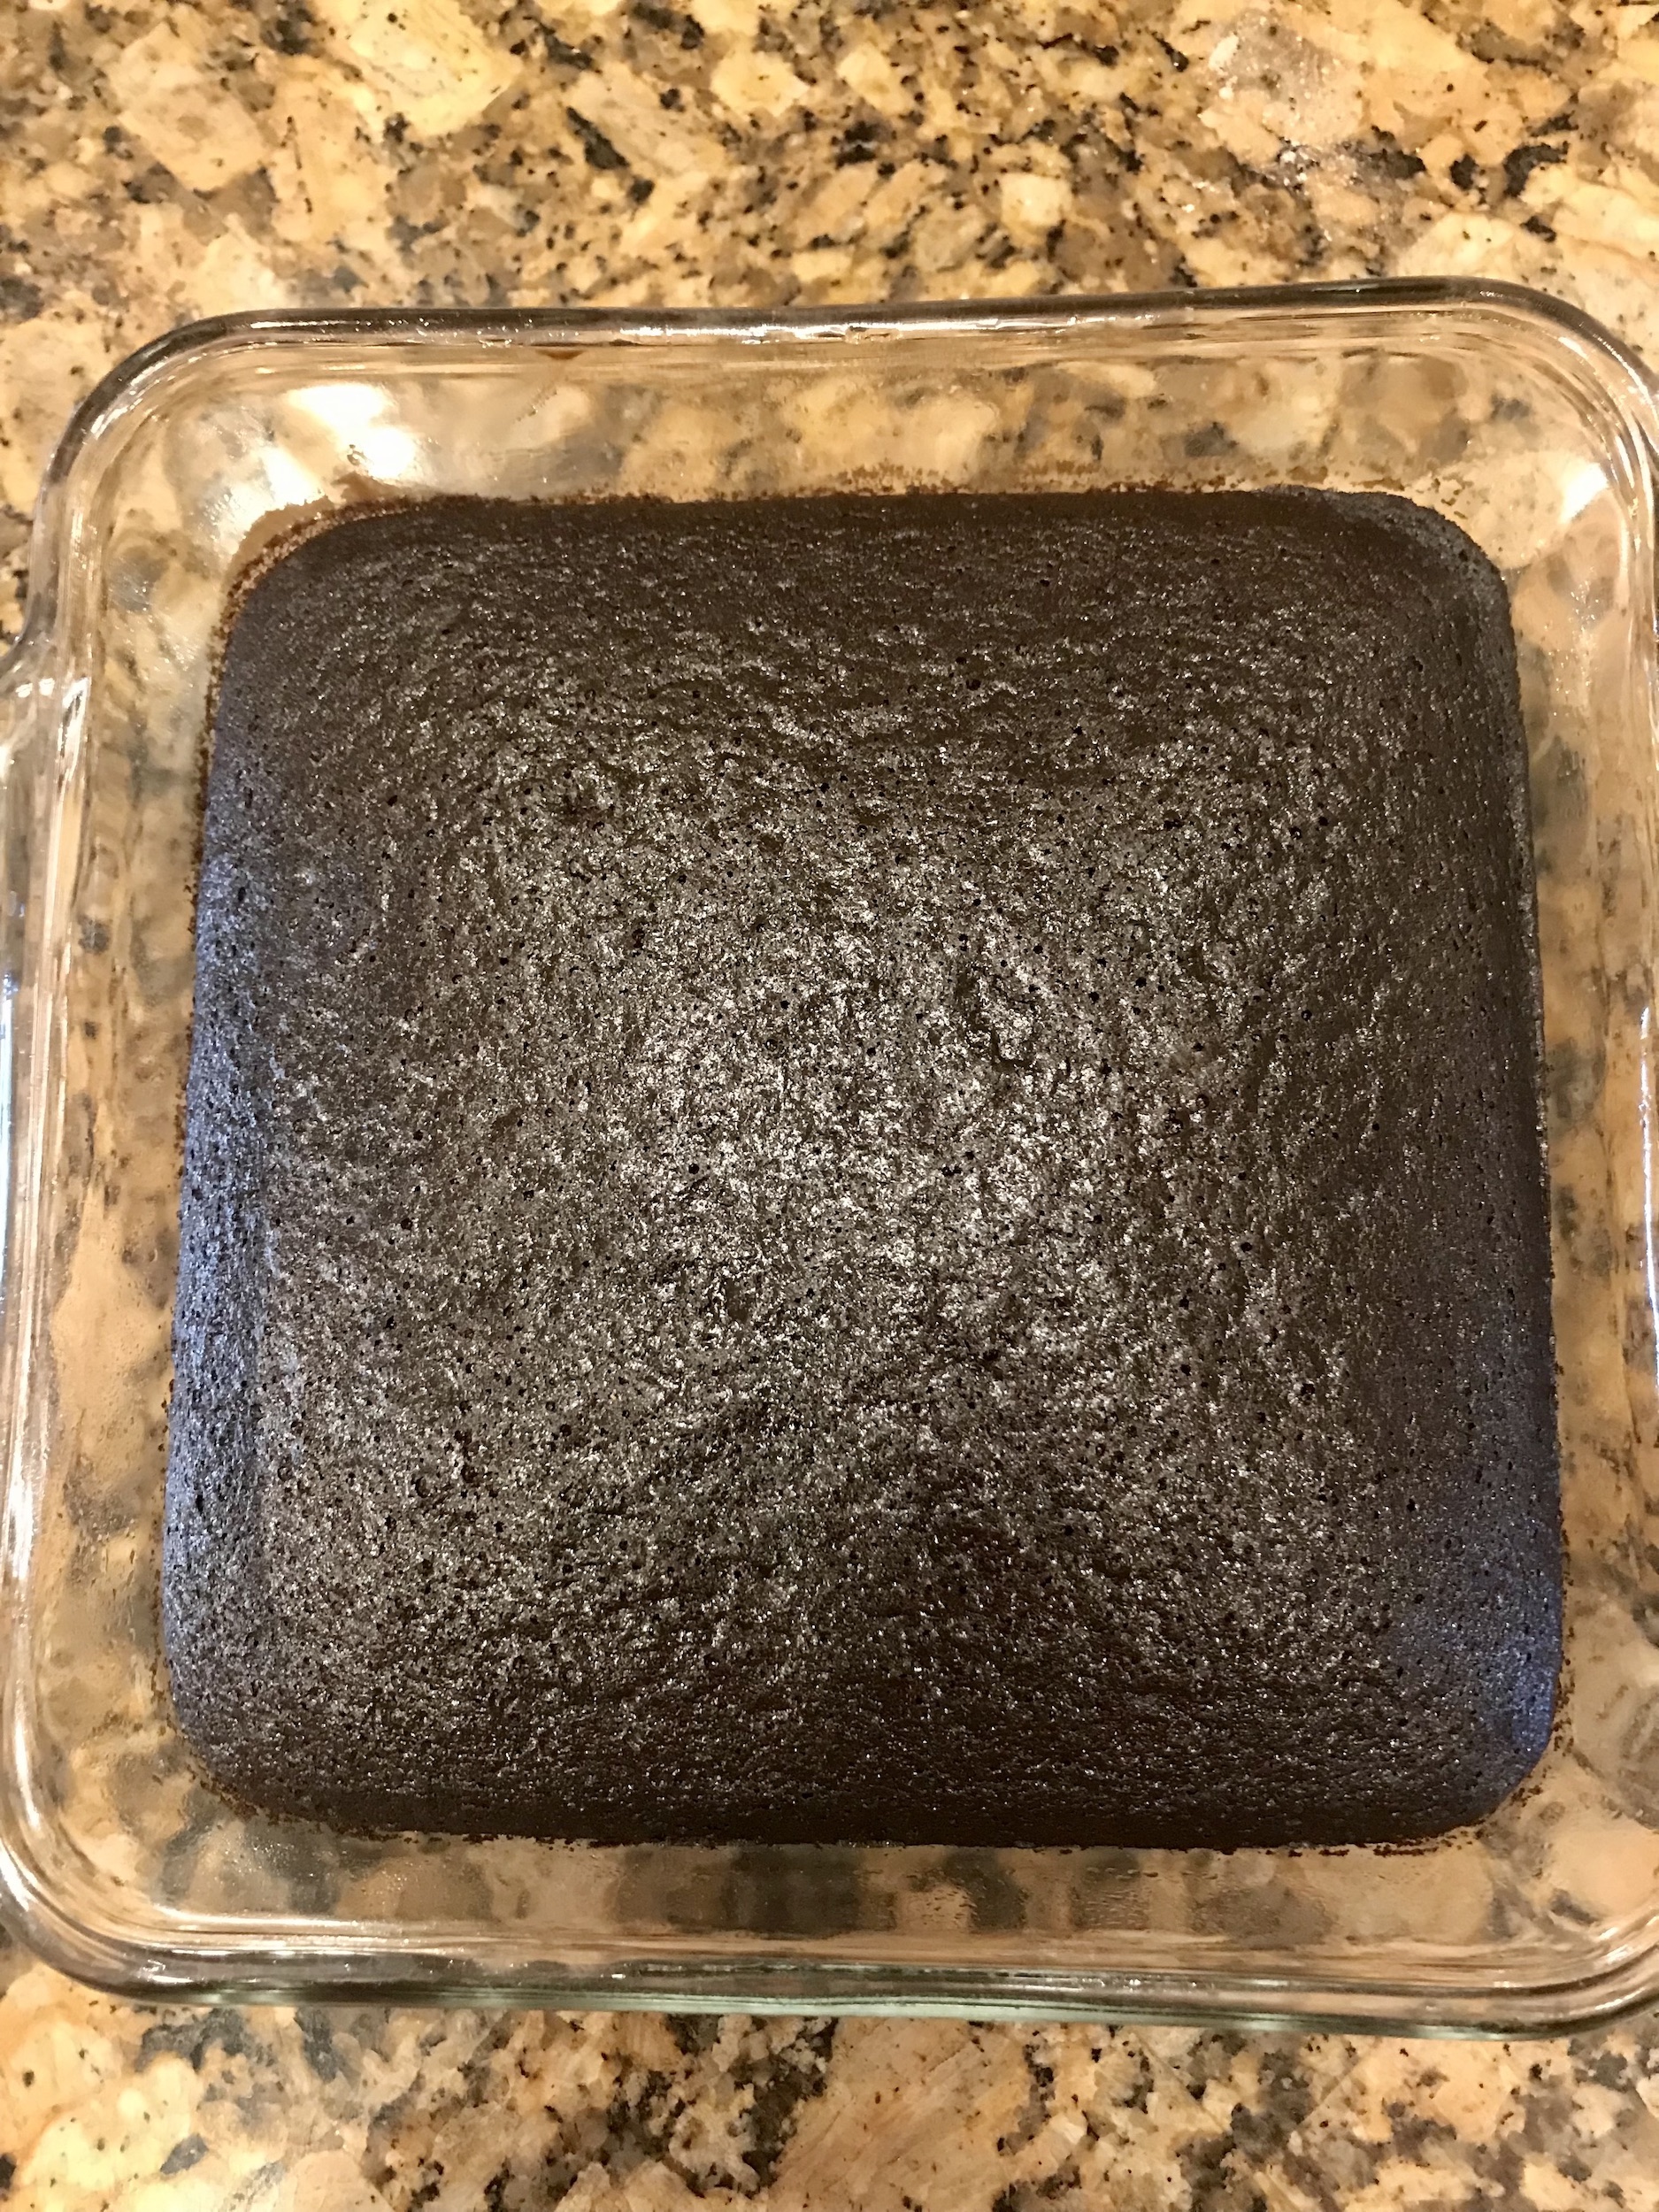
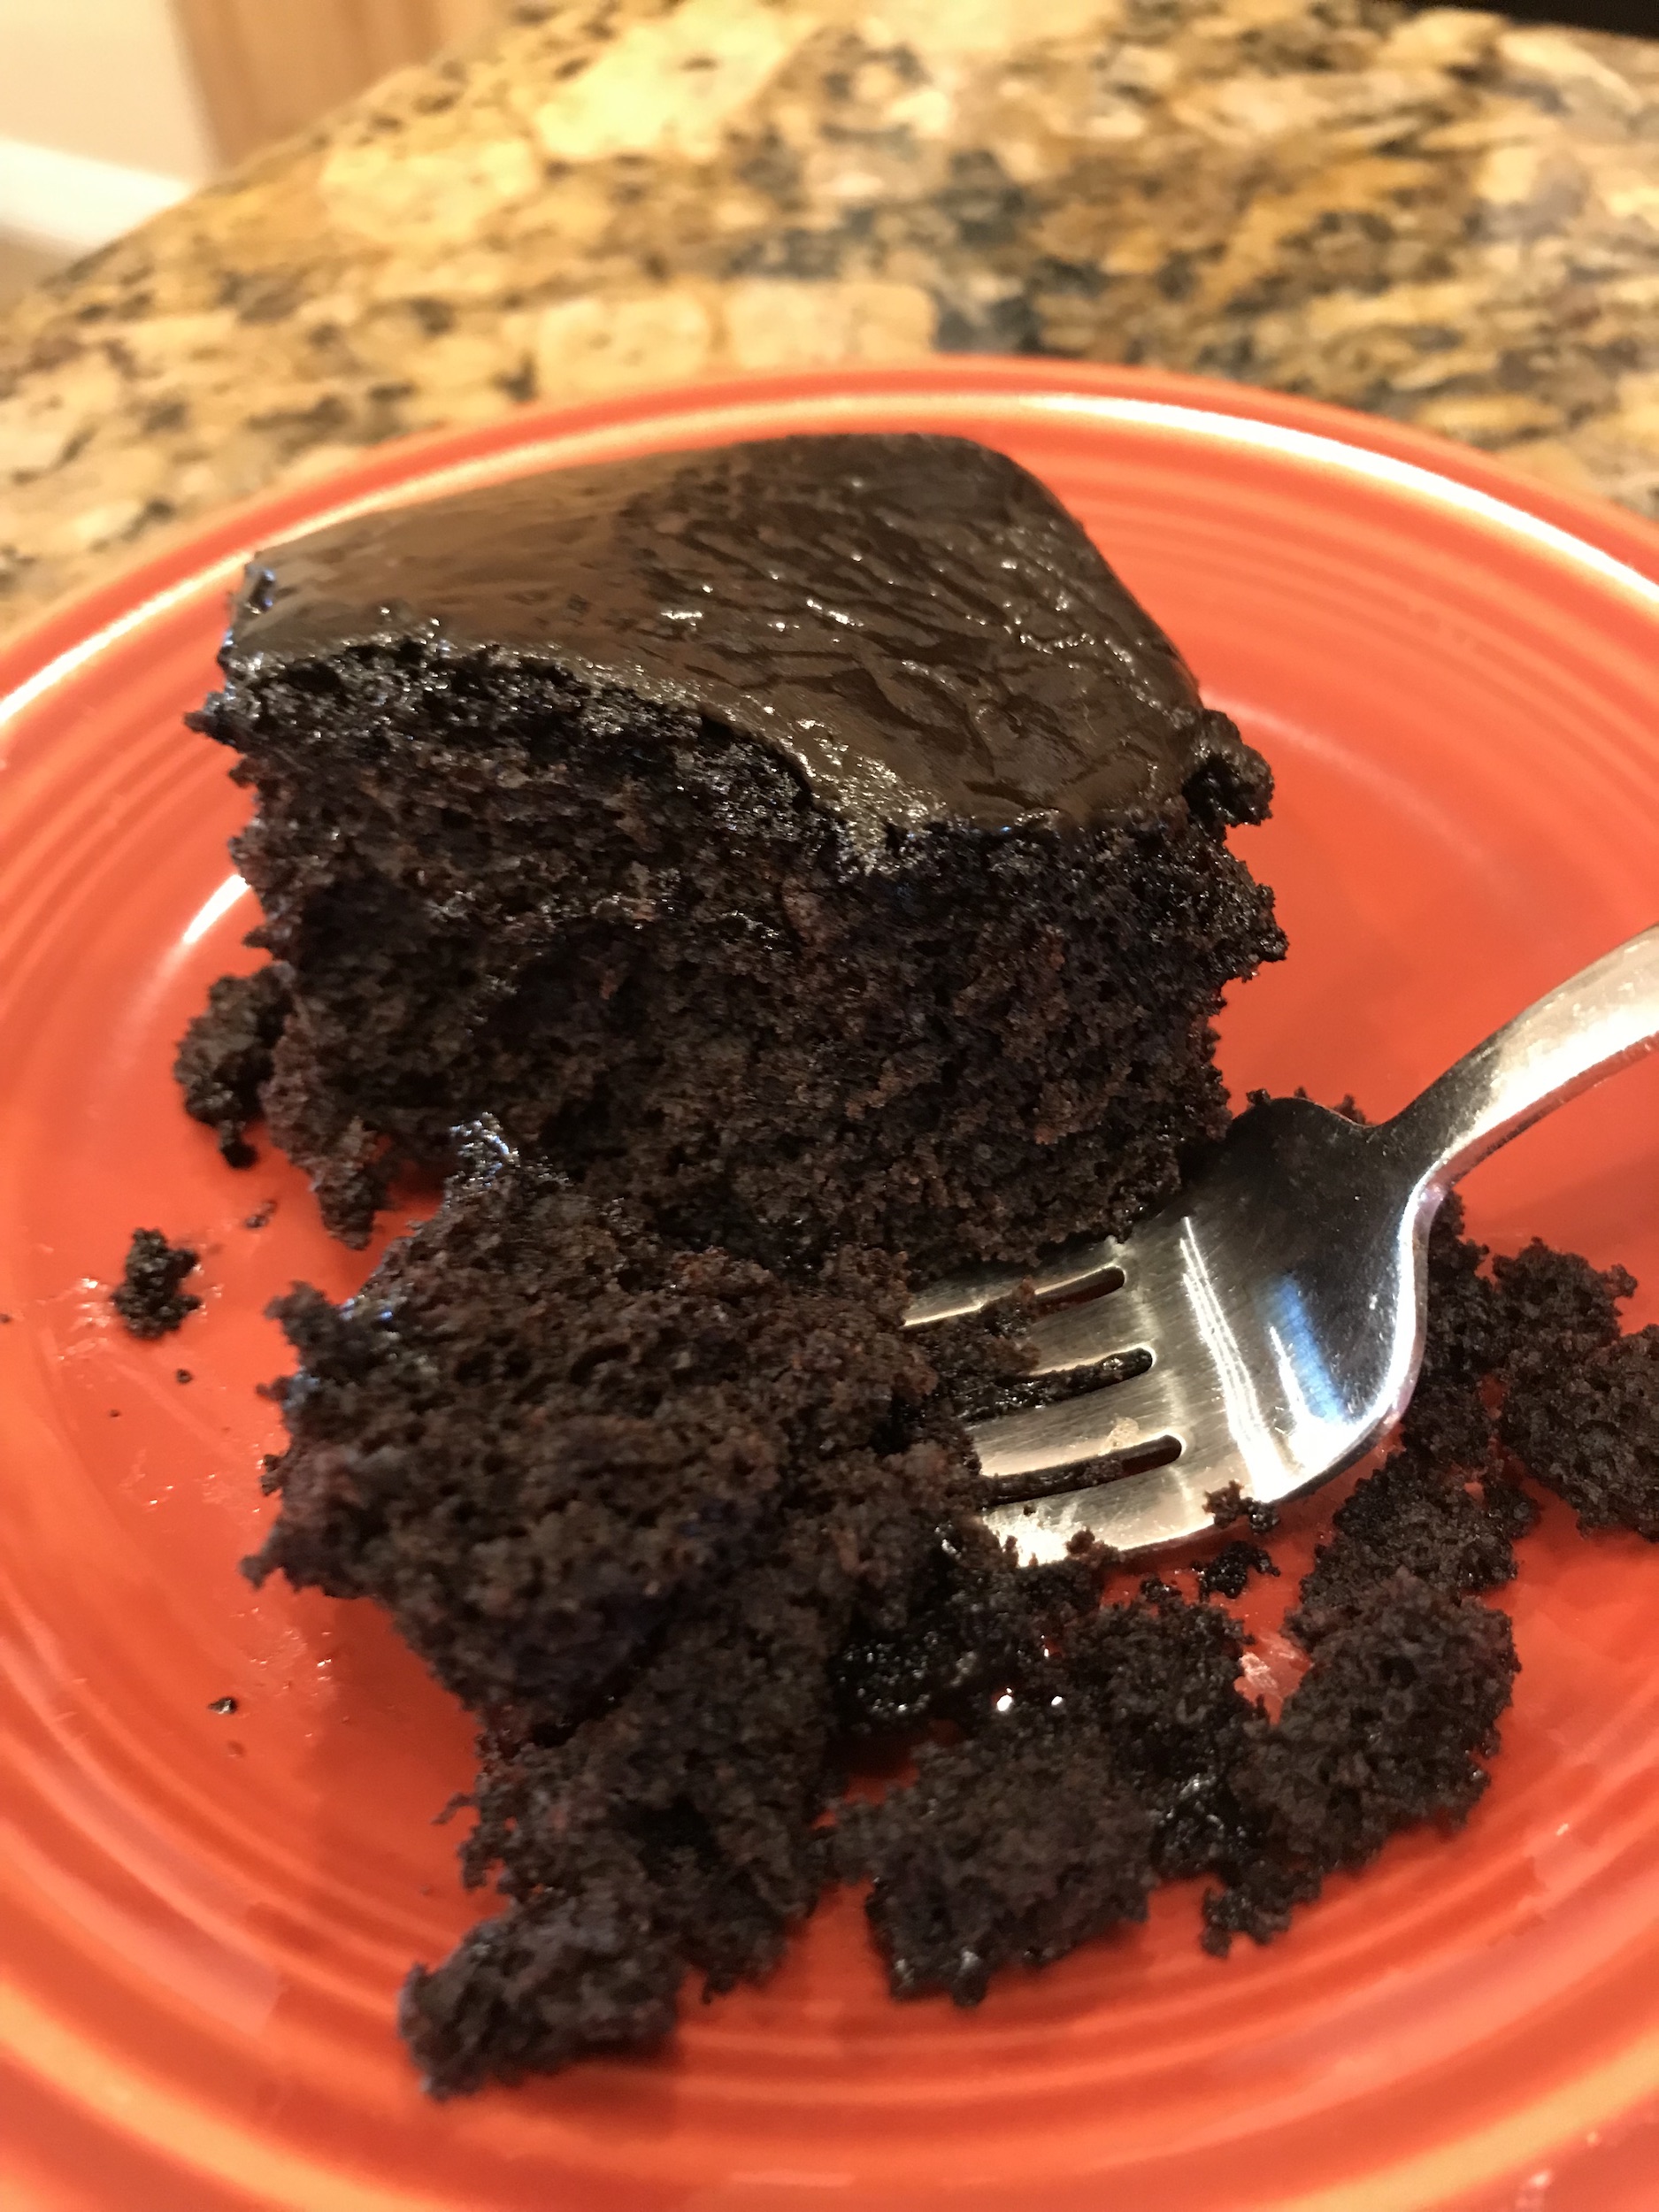
Now you can see how light and moist this cake turned out! It was decadent & rich from using dark chocolate cocoa. I know not everyone is a fan of dark chocolate, so feel free to use regular cocoa. It’s going to be delicious, no matter what!
**tips**
- In addition to the vanilla, you can play around with other flavorings. I put about 1/8 tsp of almond flavoring in the frosting and it turned out amazing! You can also put different flavorings in the batter, as well.
- If you want to make a larger cake, like a 9 x 13, you can just double the recipe.
- Most cooking oils will work like canola, coconut, vegetable, corn, or avocado oil.
-
Use light vinegars, like white, apple cider or rice vinegar.
Other post you might like:
Check out some of my other delicious, frugal desserts like 2 ingredient pumpkin bread and Easy No Bake Banana Pudding. Also, be sure to subscribe to my monthly/semi monthly newsletter so you don’t miss a post!
I would also love for you join our Love To Frugal community by following me on Pinterest, Instagram and Facebook for more frugal living & money saving tips!
Chocolate Depression Cake
Ingredients
- 1 1/2 cups all purpose flour
- 1 cup sugar
- 1/3 cup unsweetened cocoa powder regular or dark
- 1/2 tsp salt
- 1 tsp baking soda
- 1/3 cup oil
- 1 Tbsp white vinegar
- 1 tsp vanilla extract
- 1 cup water
Instructions
- Preheat oven to 350 degrees.
- Lightly spray a 9 x 9 or 8 x 8 baking pan with cooking spray.
- In a mixing bowl, combine flour, sugar, salt, cocoa powder & baking soda and stir (or whisk) to combine.
- Add the water, vanilla extract and vinegar to a liquid measuring cup.
- Add the oil to the dry ingredients followed by the water mixture.
- Stir until the batter is smooth, making sure all of the flour is well blended.
- Pour the batter into the baking dish and bake for 30-35 minutes. Check doneness by inserting a toothpick in the center of the cake. If it comes out clean, it's done.
- Cool completely before icing or sprinkling powder sugar on top.

That’s so funny, this is exactly the cake recipe my wife inherited from her depression era mother on their family farm. I make this cake all the time and had no idea anyone else made it! The same frosting recipe too except it uses milk instead of water. It’s a great cake, and it is really cool to know the history as well. That made my day! Thanks.
You’re right, Steve! This recipe has been around for decades and it truly is a great one! My mom use to make this when I was little and we loved it! I don’t remember her using cake mixes until I was much older. I’ll have to try making the frosting with milk next time, too! Thanks so much for commenting! 🙂